This tutorial will guide you through using the Cerebral marketing aspect to manage social media posts effectively.
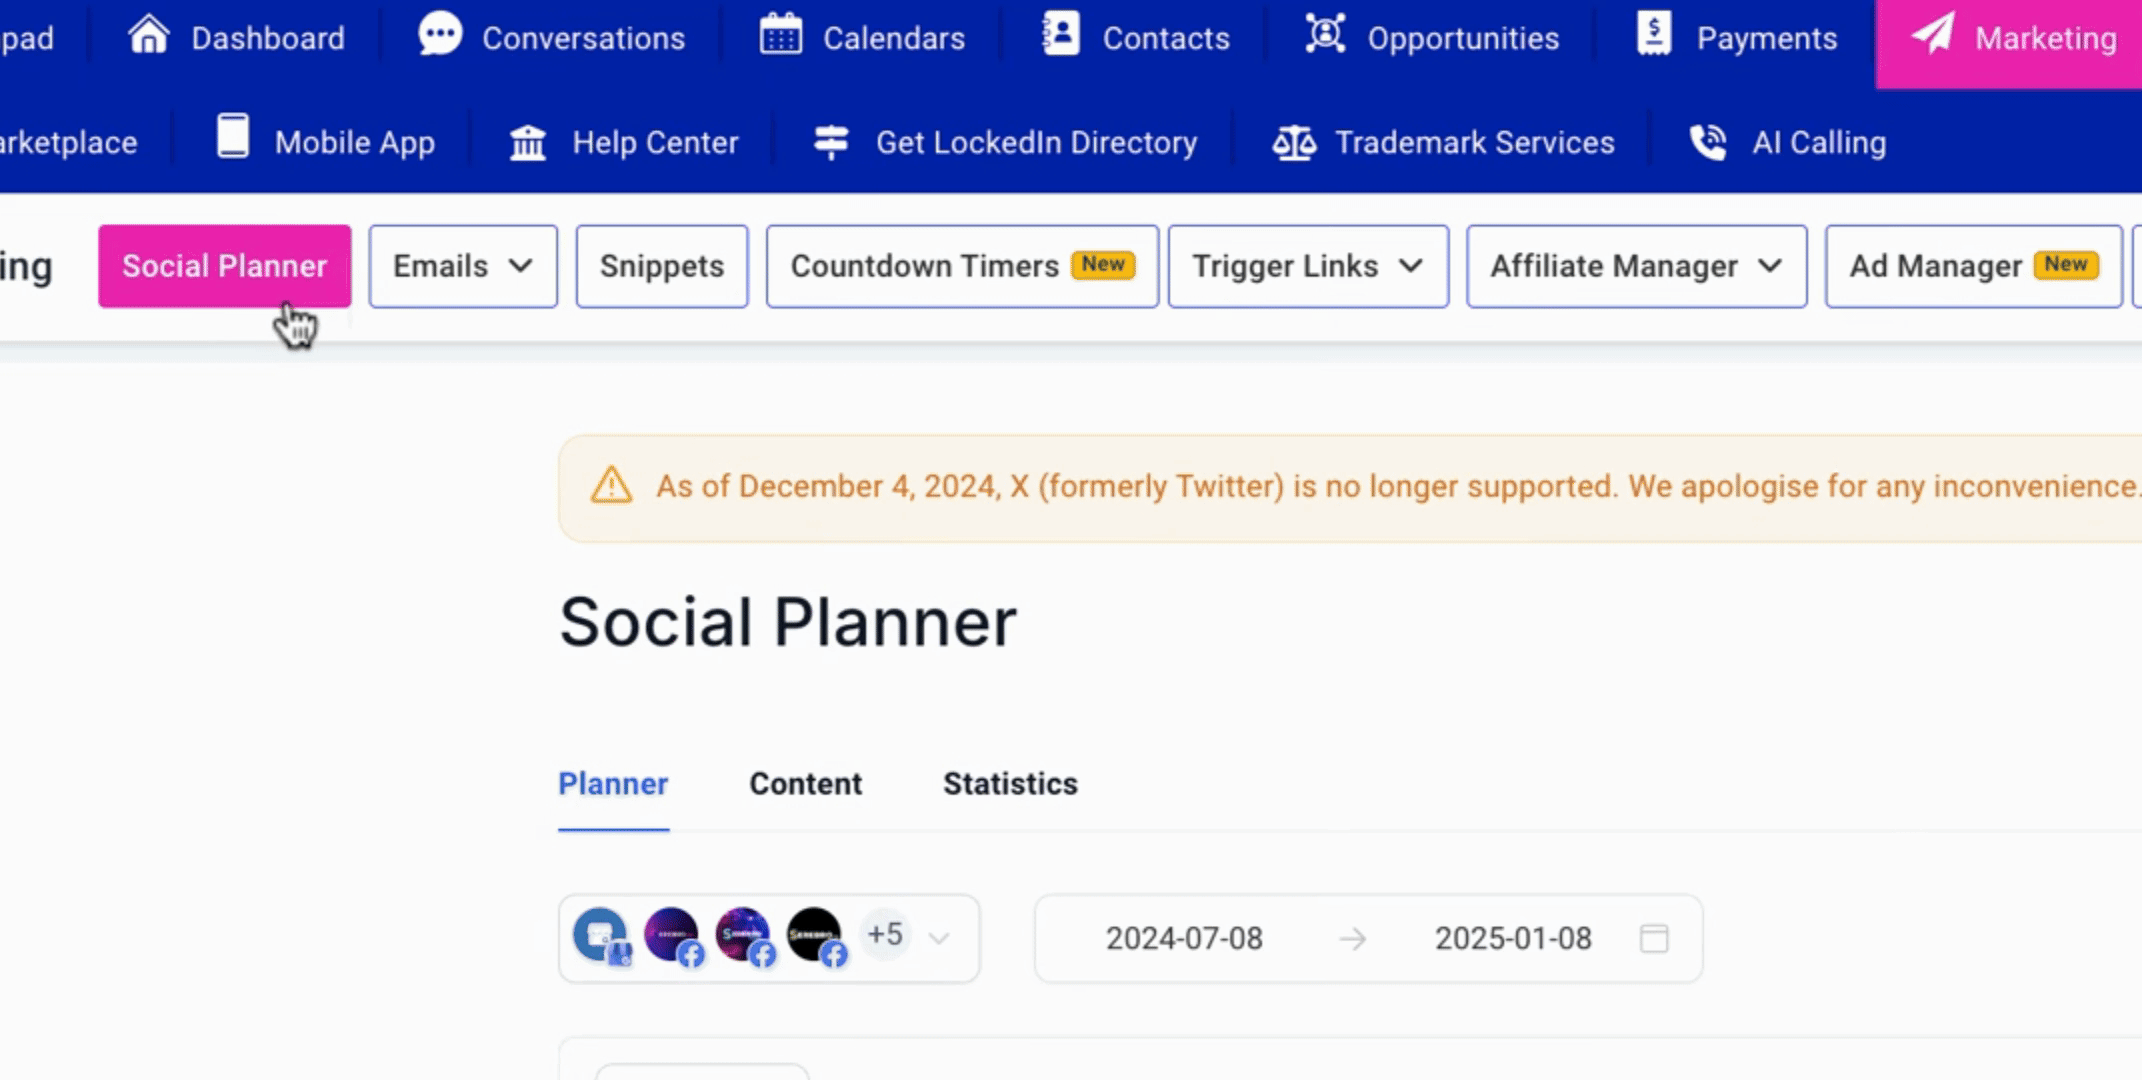
Begin by navigating to the Marketing tab and selecting Social Planner.
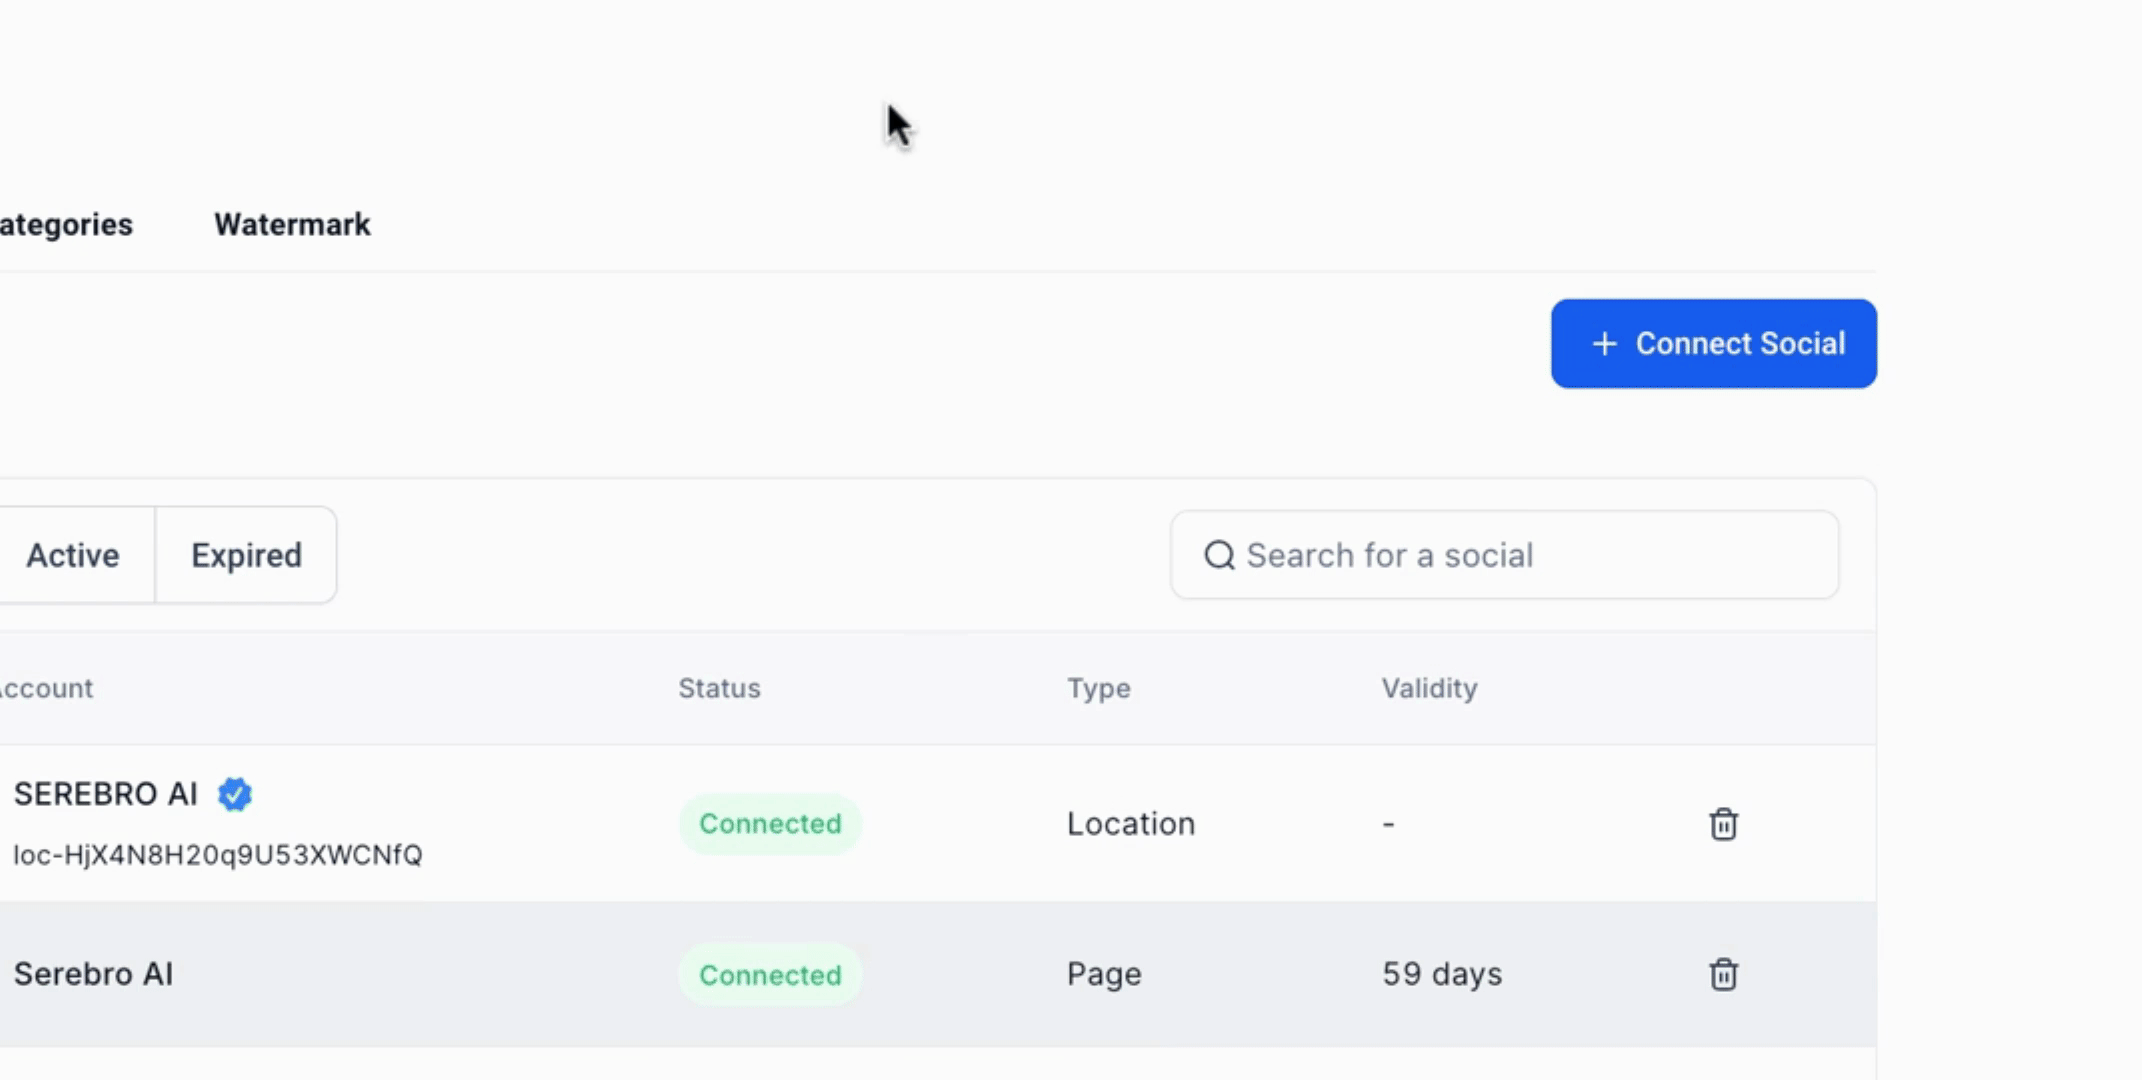
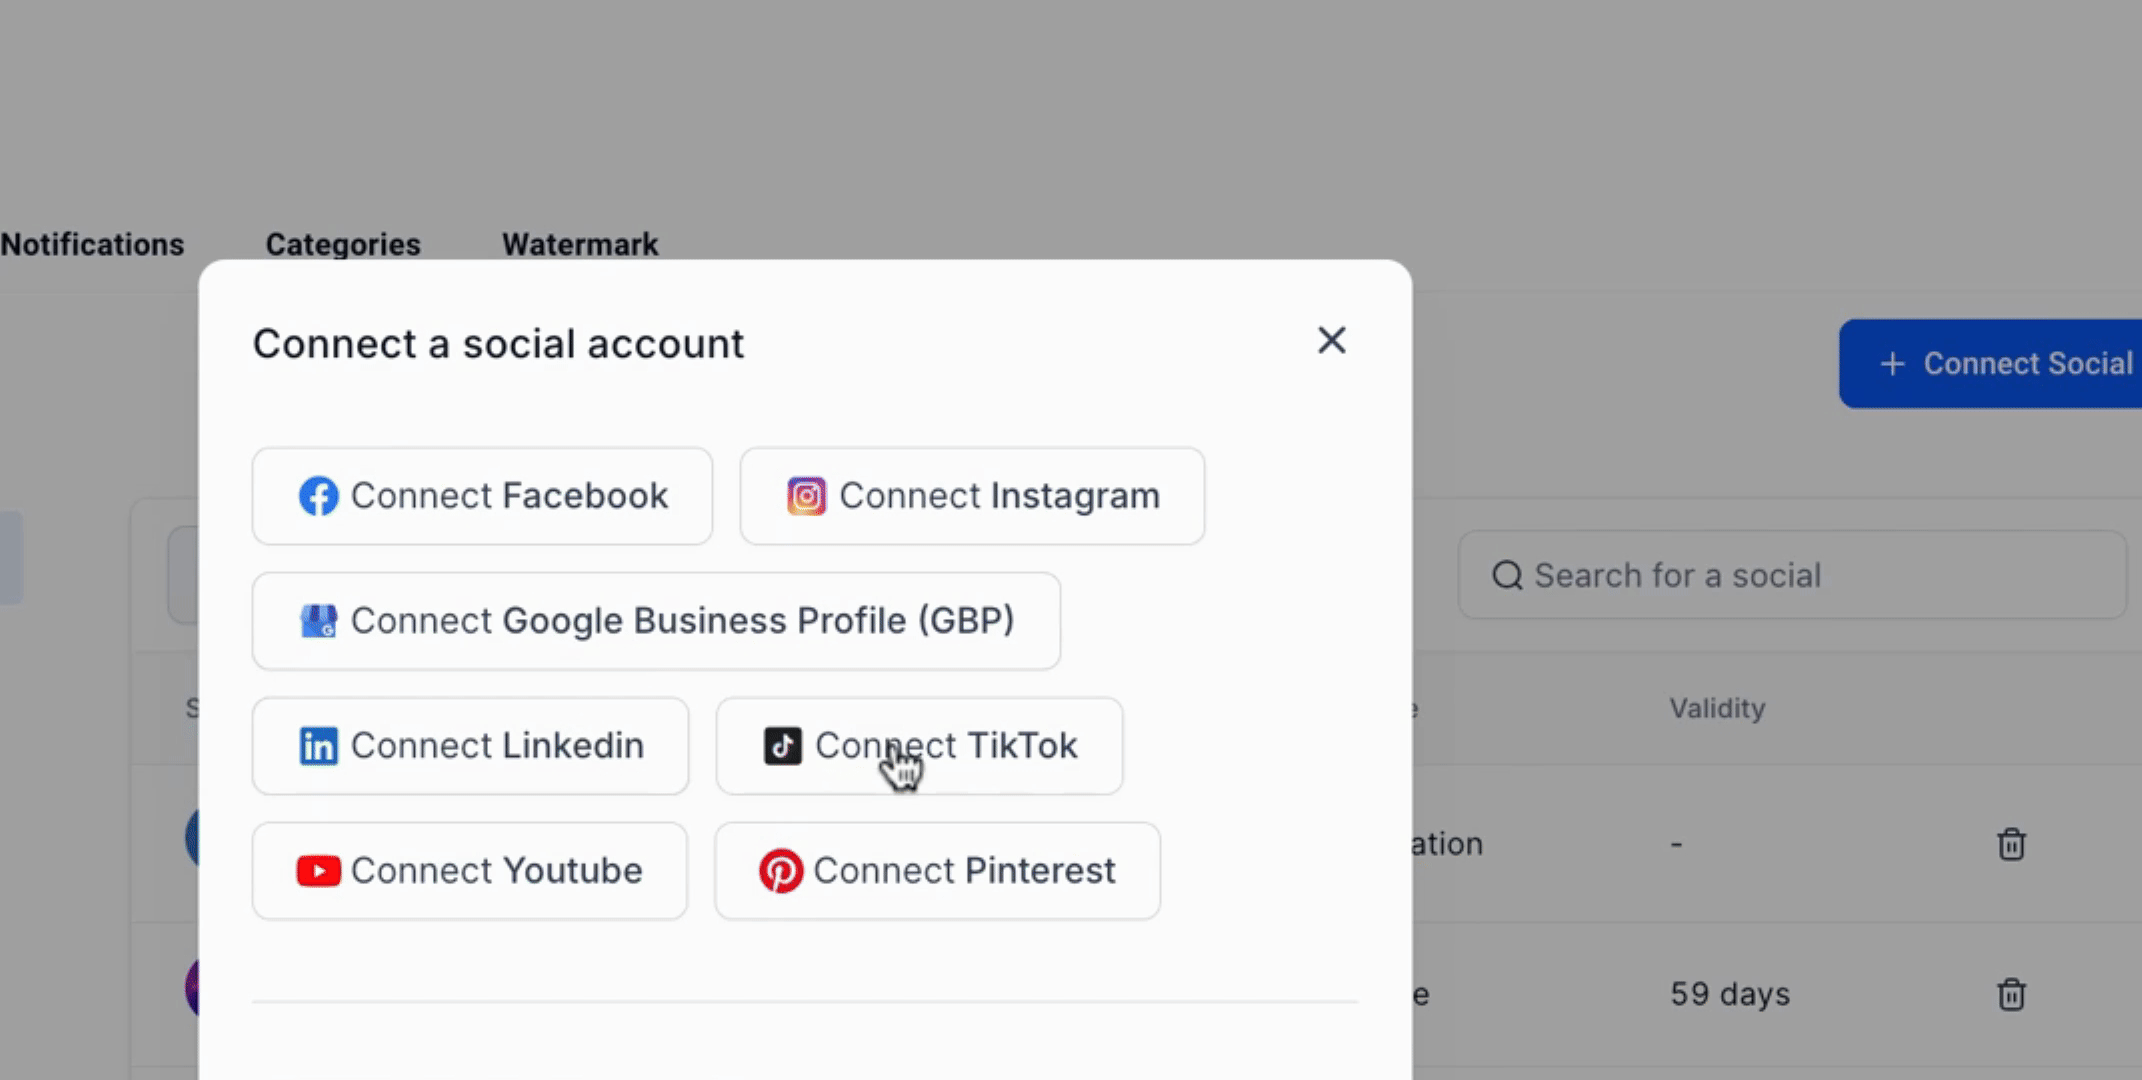
The first action you need to take is to click on the Settings to connect your social accounts. Please note that in your case, if your accounts are not yet hooked up, follow the necessary prompts to do so.

In the Settings, you will find options to connect your social accounts. It is advisable to refresh this section periodically to ensure that your connections are up to date.
When connecting, keep open tabs of the respective social media accounts to facilitate the connection process.
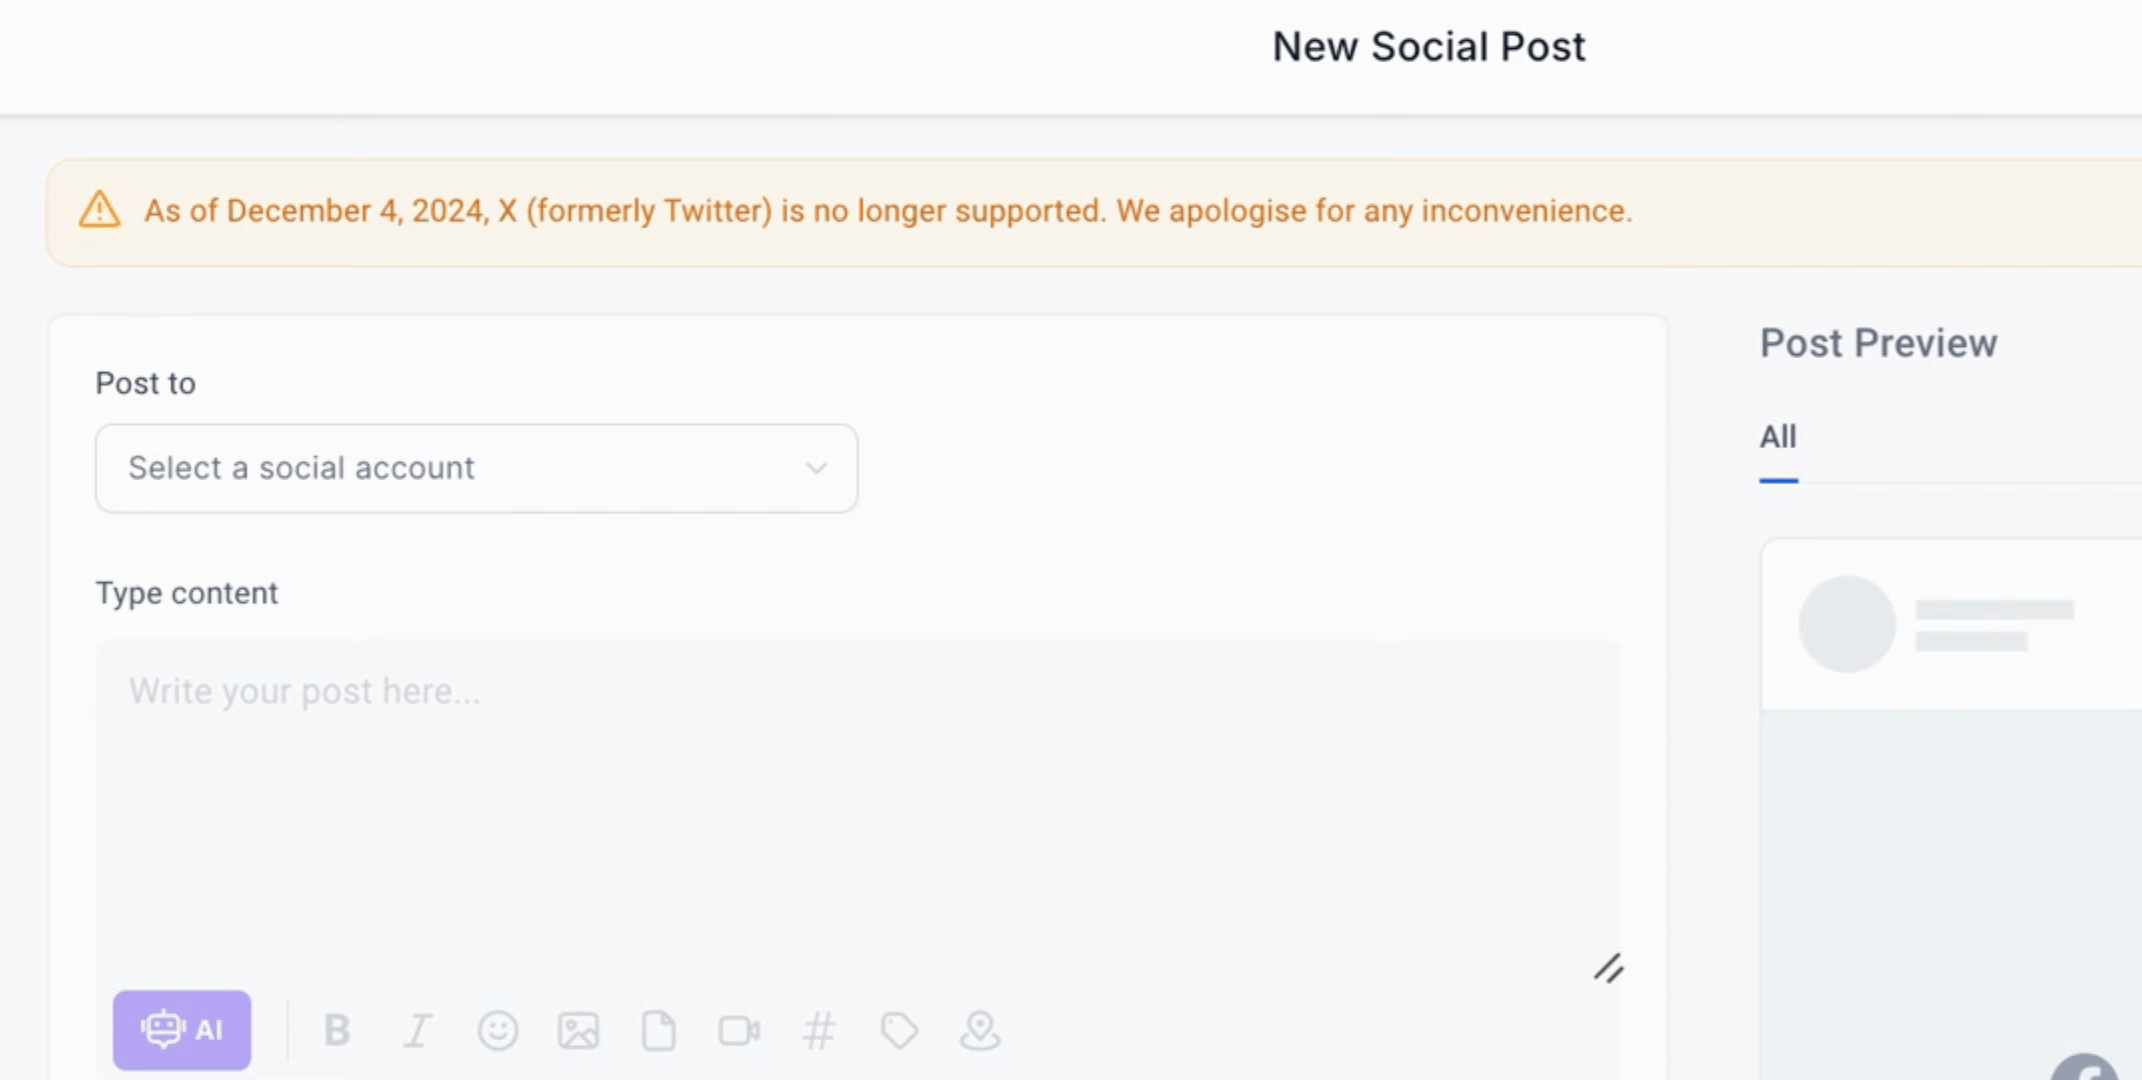
Once connected, you can return to create your first post by clicking the back button.
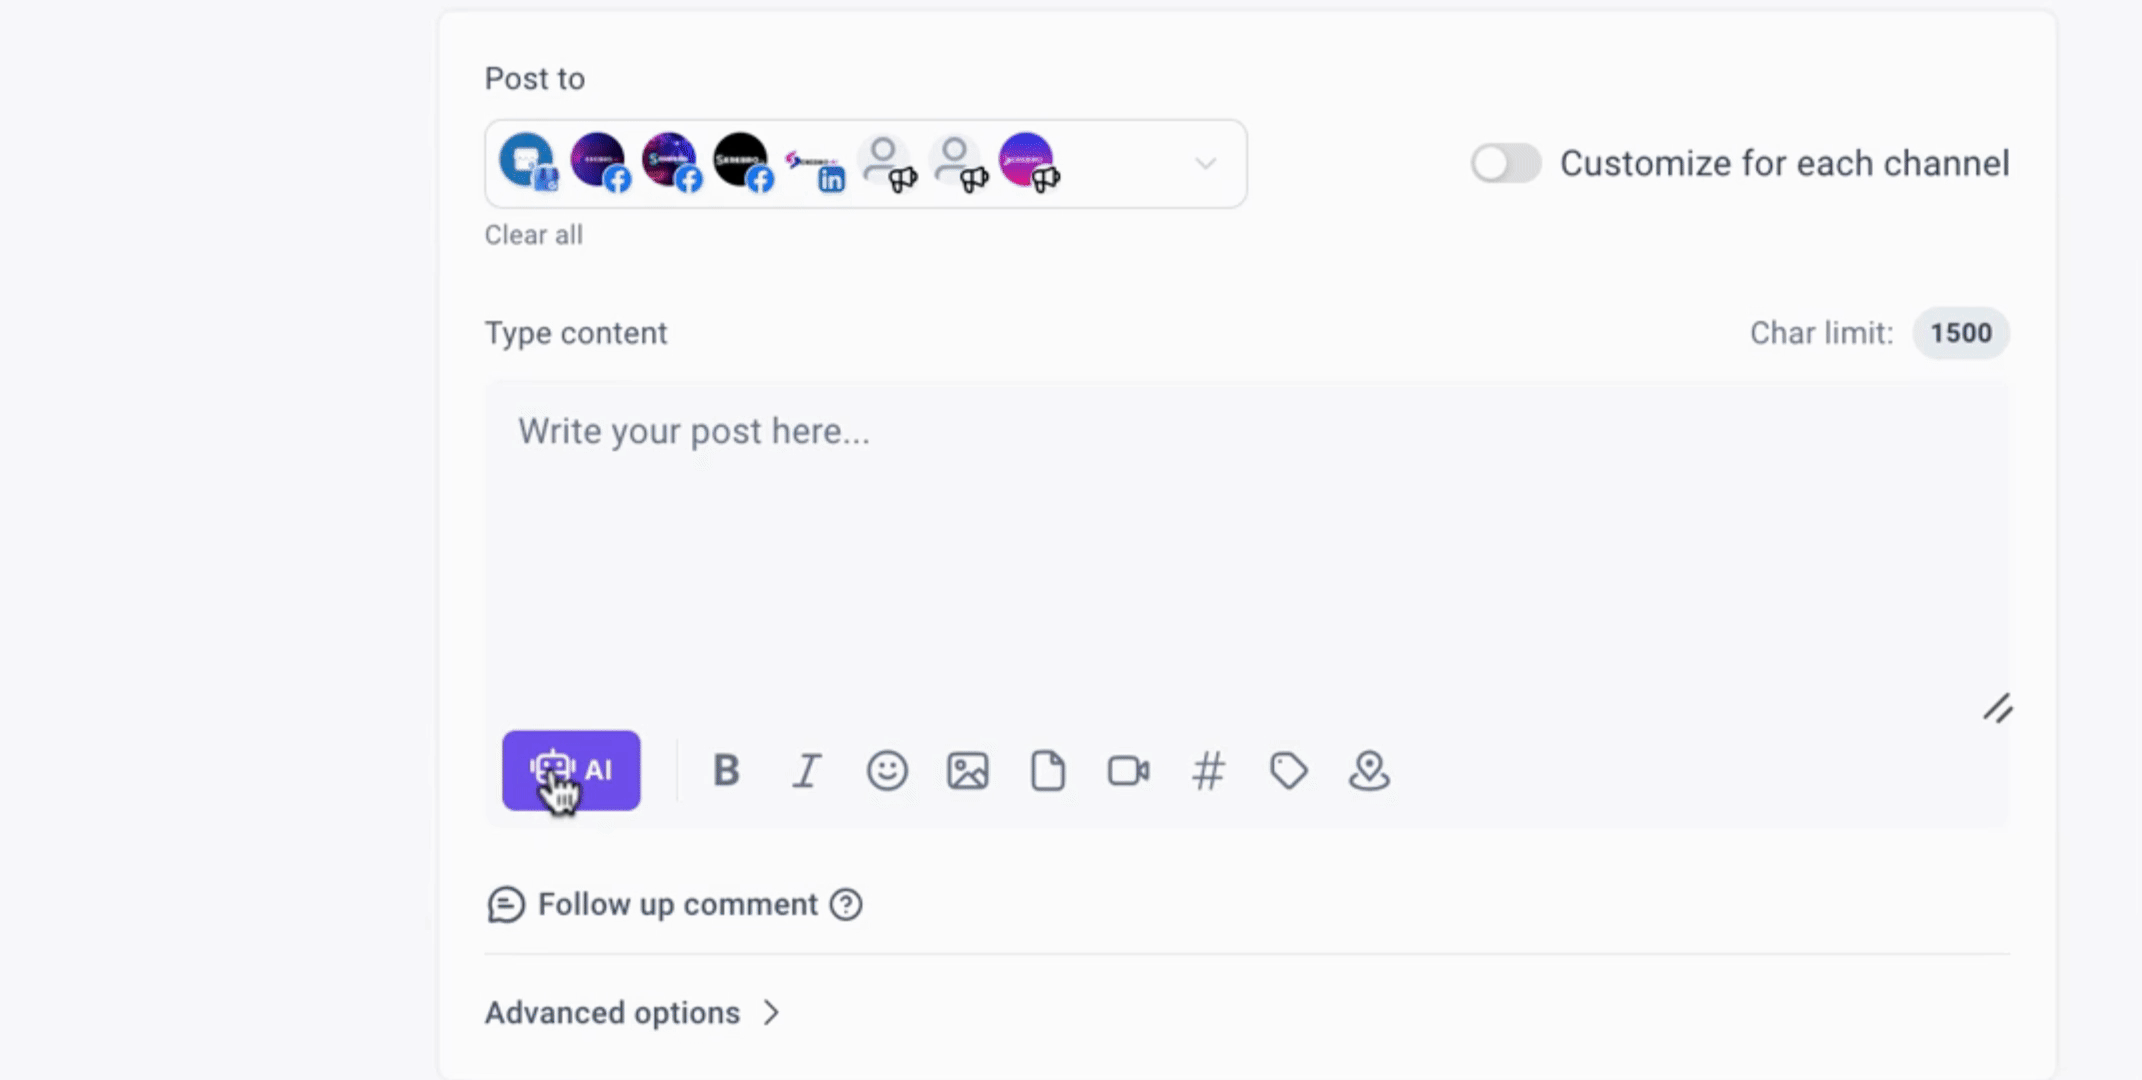
Select the appropriate platforms for posting. For this case, deselect YouTube if you do not have relevant video content to share.
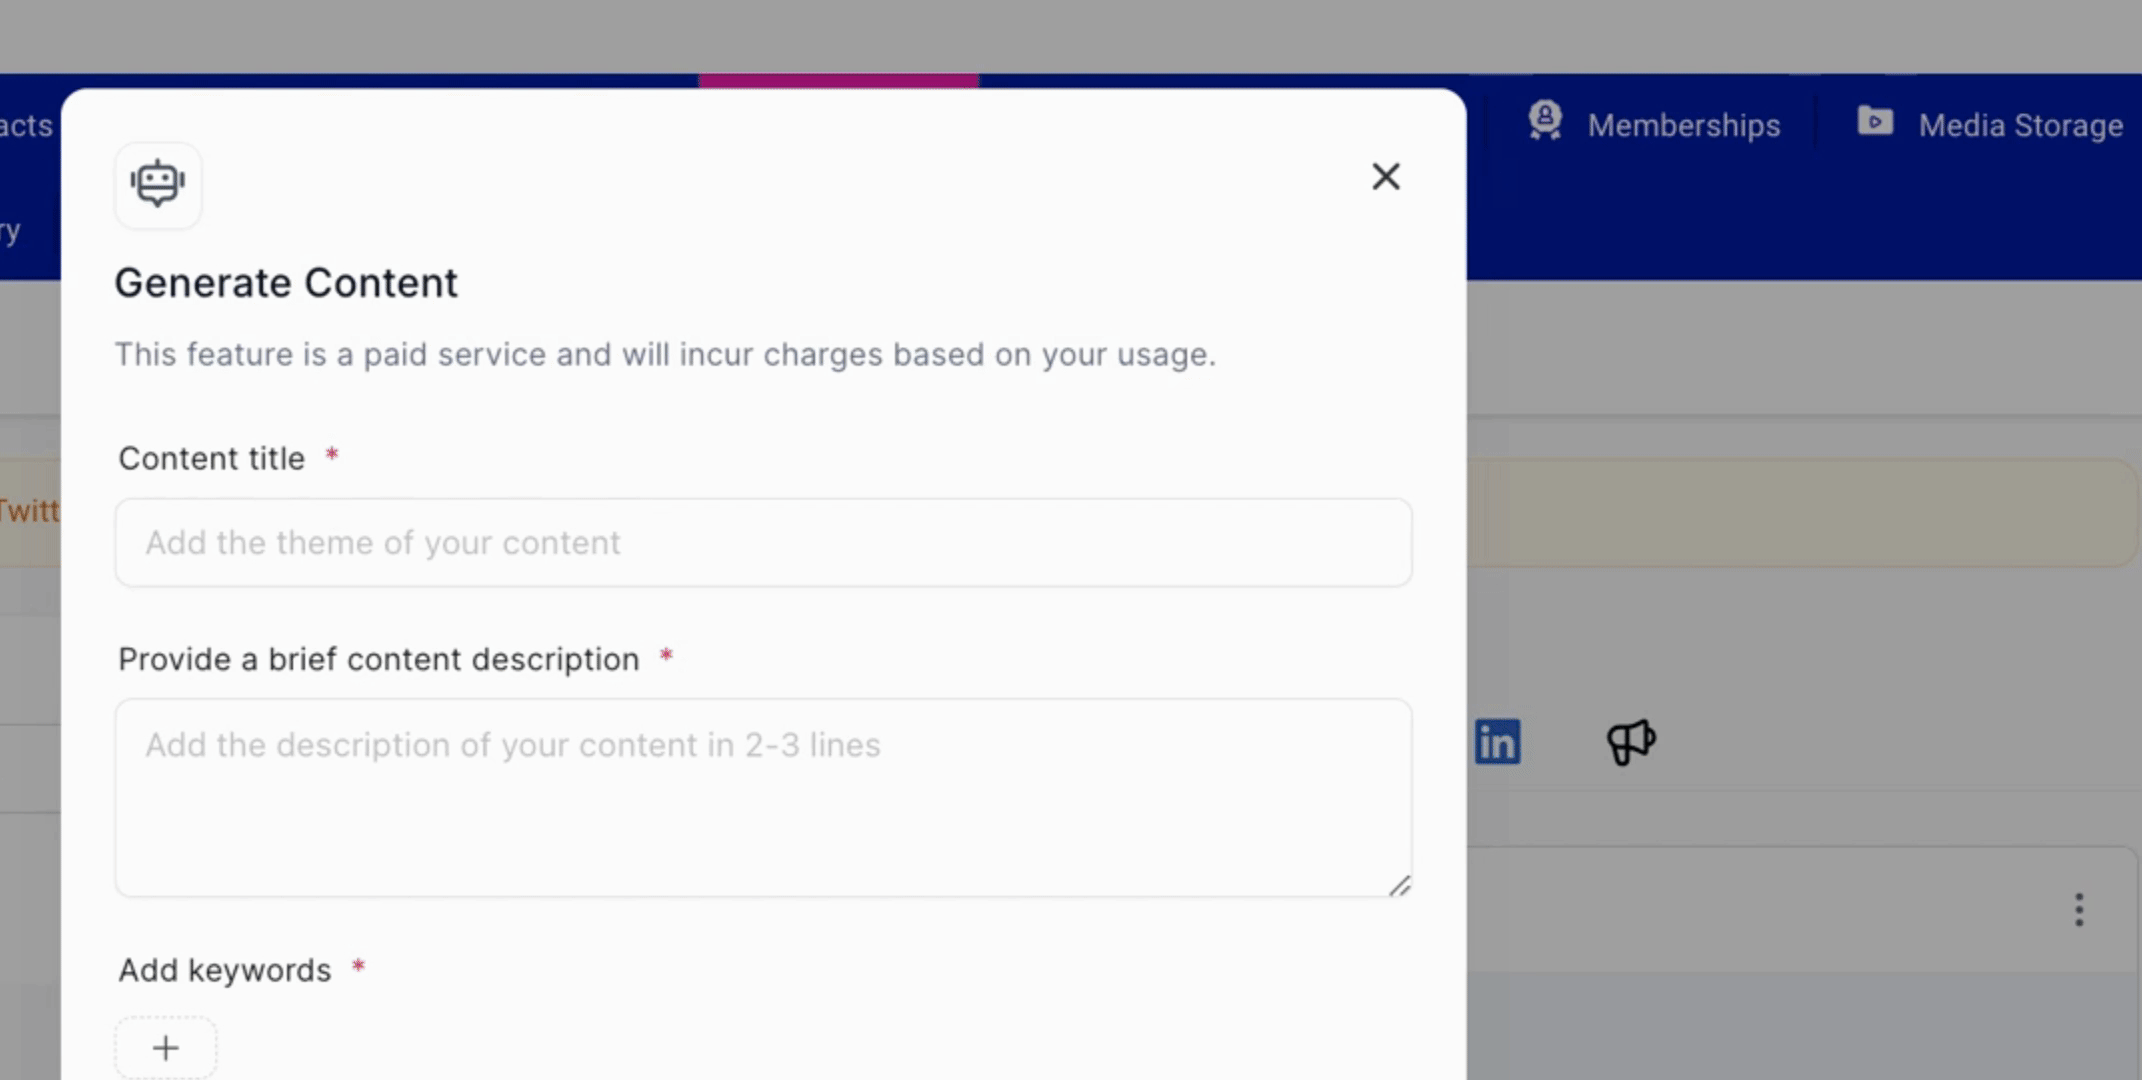
You can generate content using AI, which will provide you with three different variations to choose from based on your desired length and tone, such as funny, casual, professional, or charismatic.
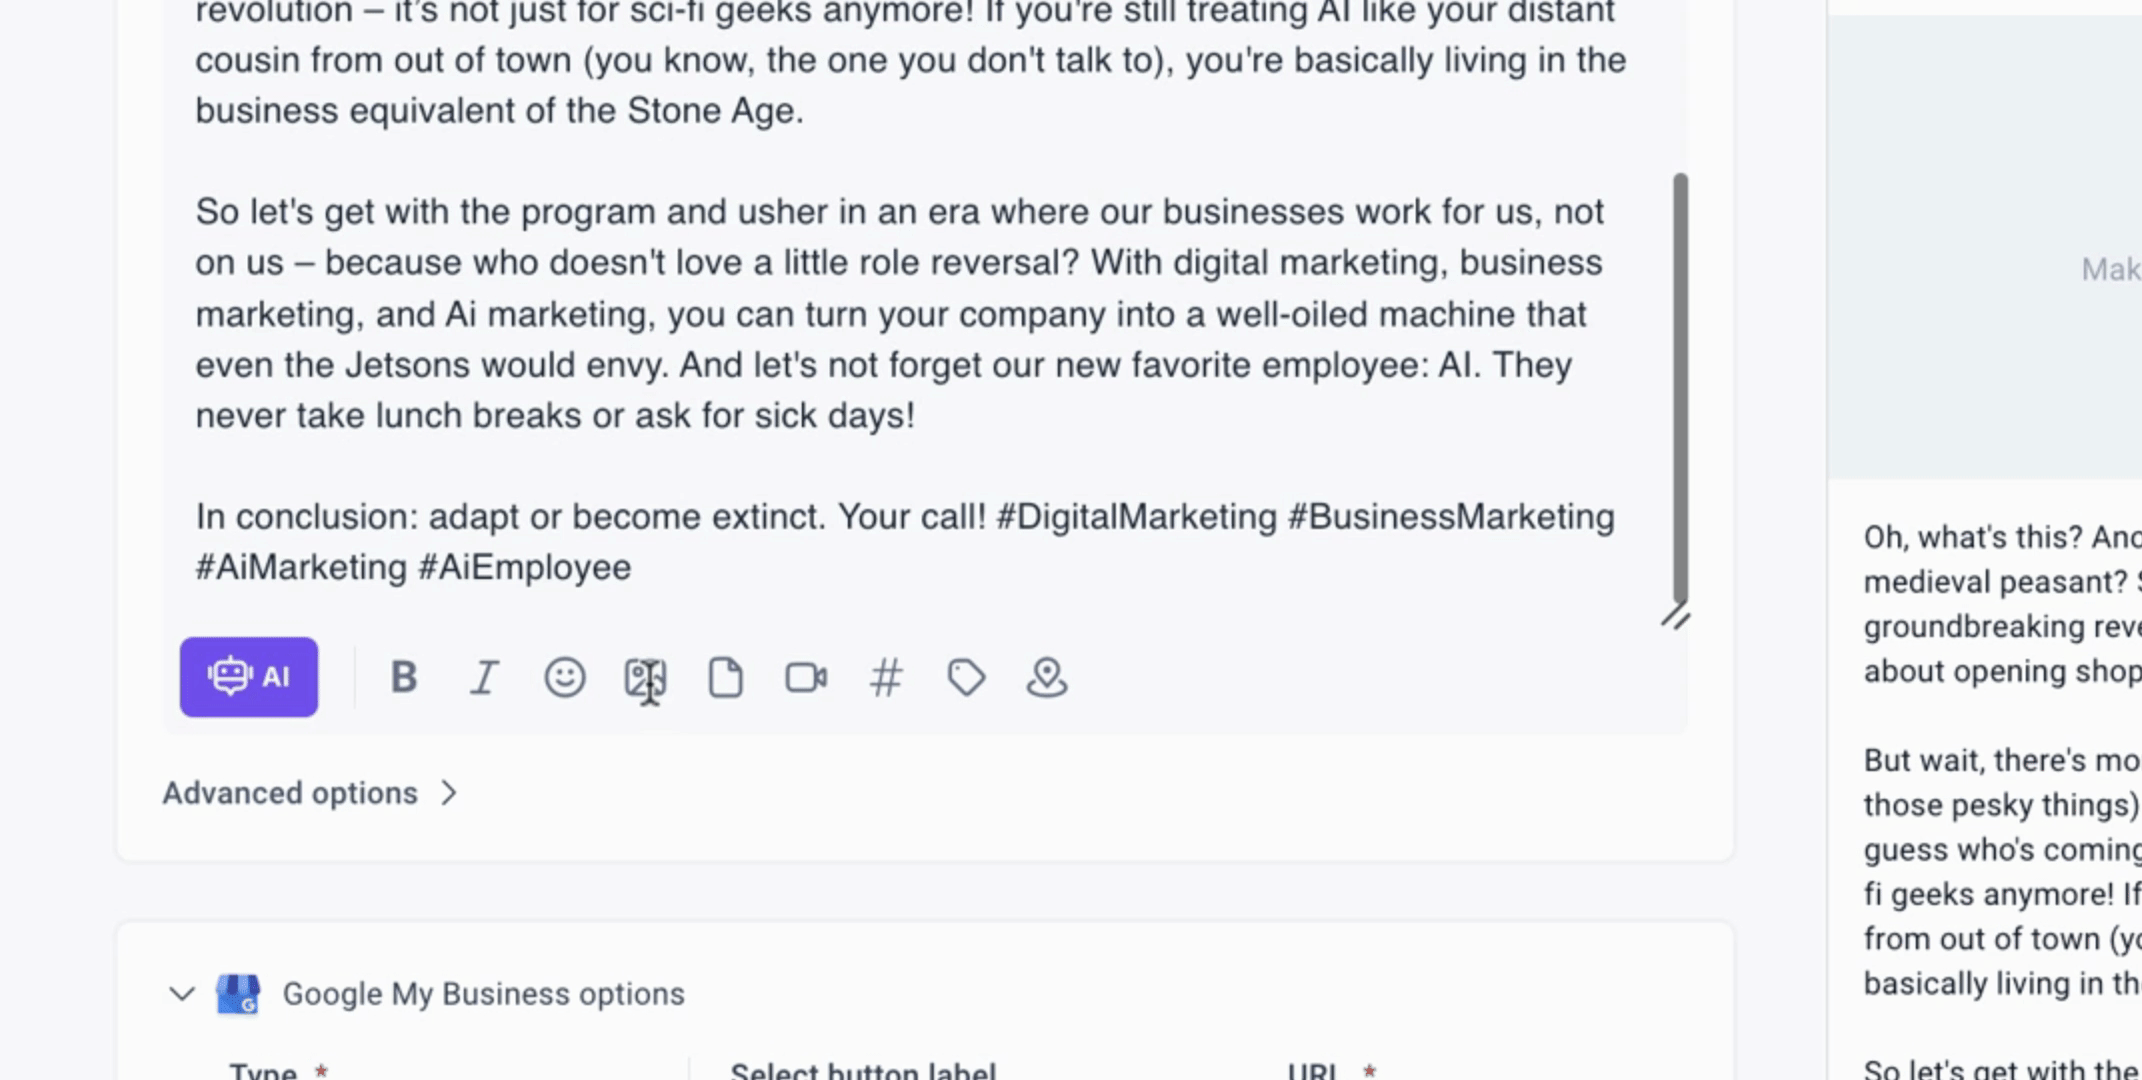
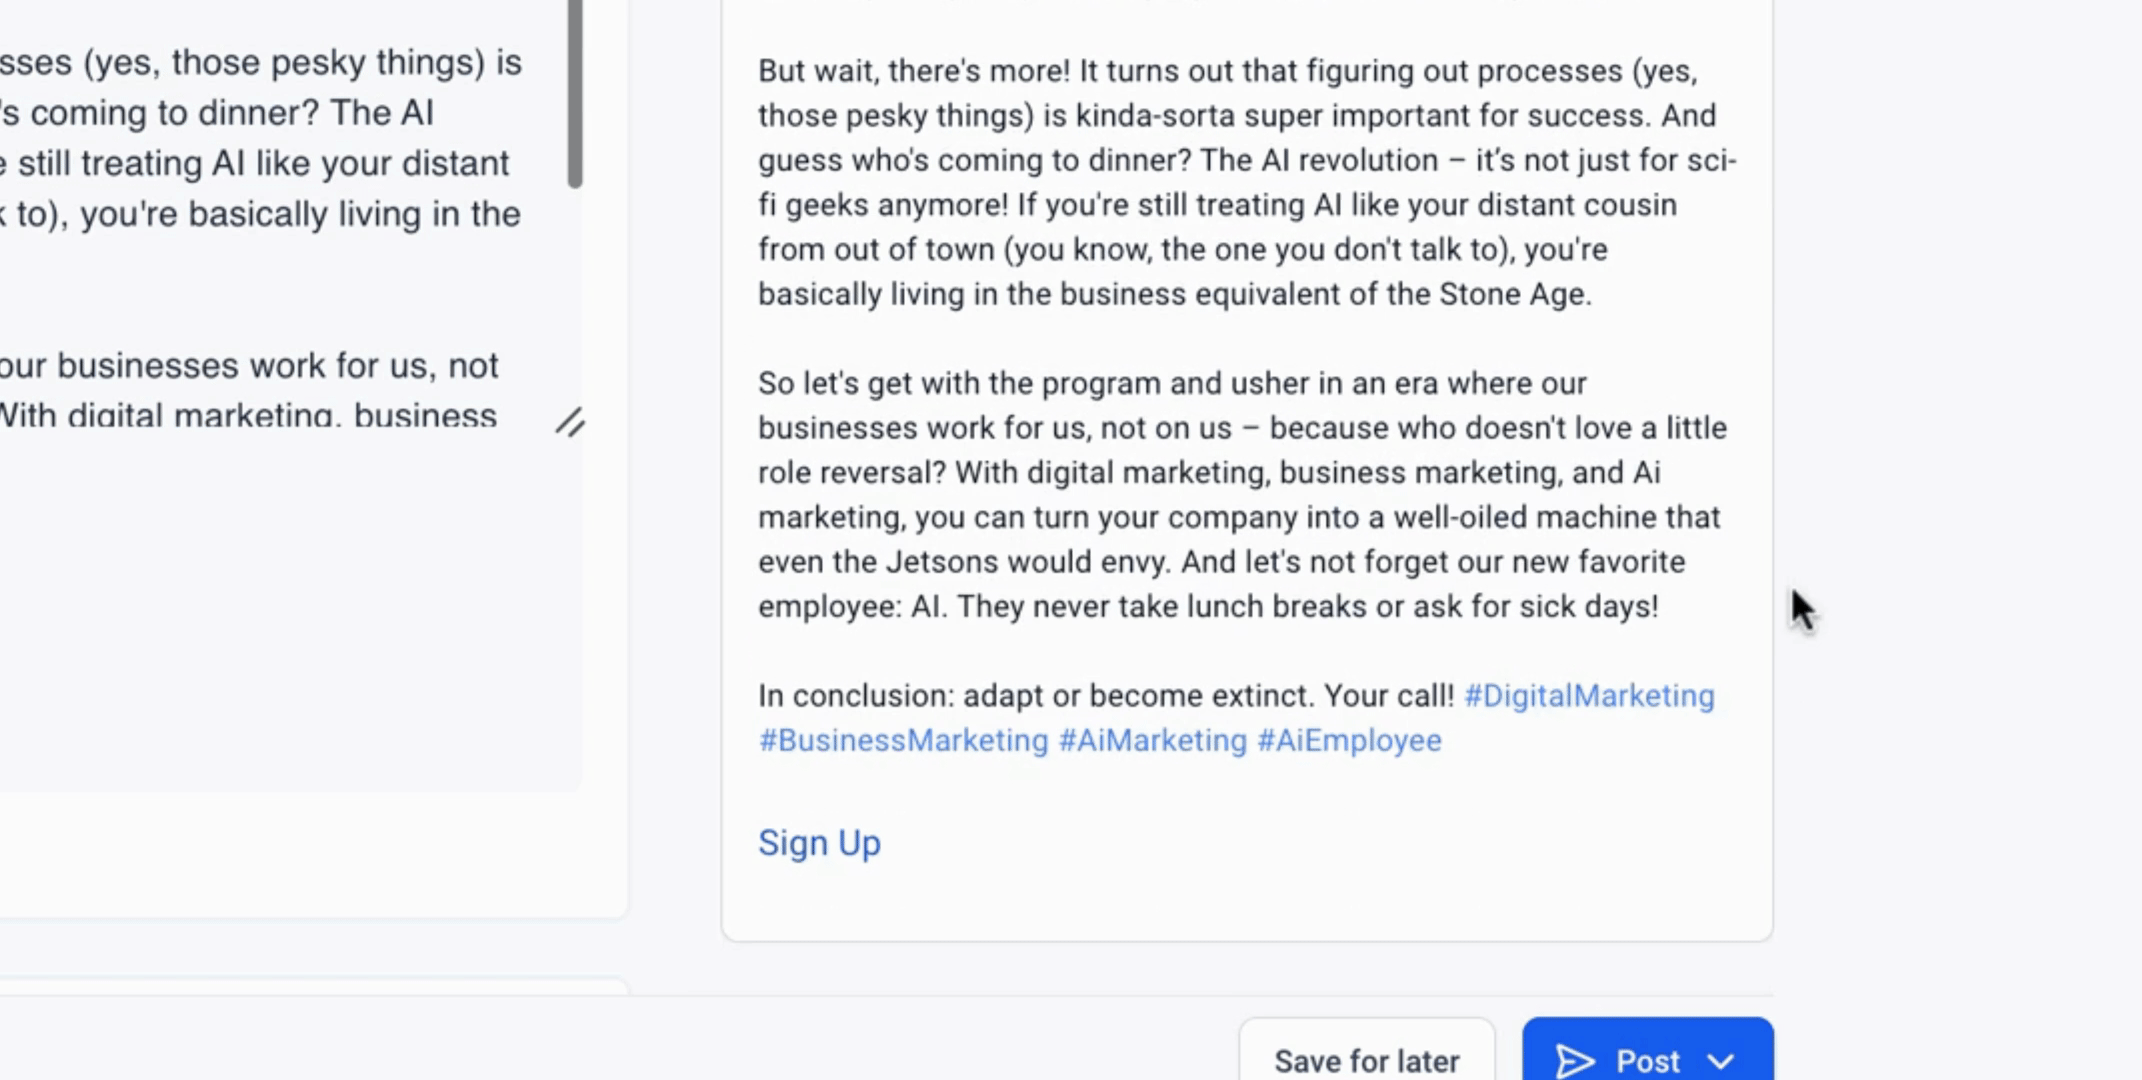
Prepare to add your post content, which has been previously created, along with a call to action, such as sign up, shop, or order.
Add a title to your post, for example, tech or die. You may also notify community members if applicable.

Utilize the Customize feature to tailor your post content, and ensure to add a relevant image to enhance your post appeal.
Choose the option to post now or schedule your post for later. Review any error messages provided to confirm successful posting across the selected platforms.
By following these steps, you can efficiently use the Cerebral Social Planner to manage and publish your social media content.