Case Studies
Creating a Website Using Templates
This tutorial will guide you through the process of creating a website using our template library.
Updated 4 months ago
This tutorial will guide you through the process of creating a website using our template library.
To begin, click on Start Website.
This will initiate the process of creating your website.
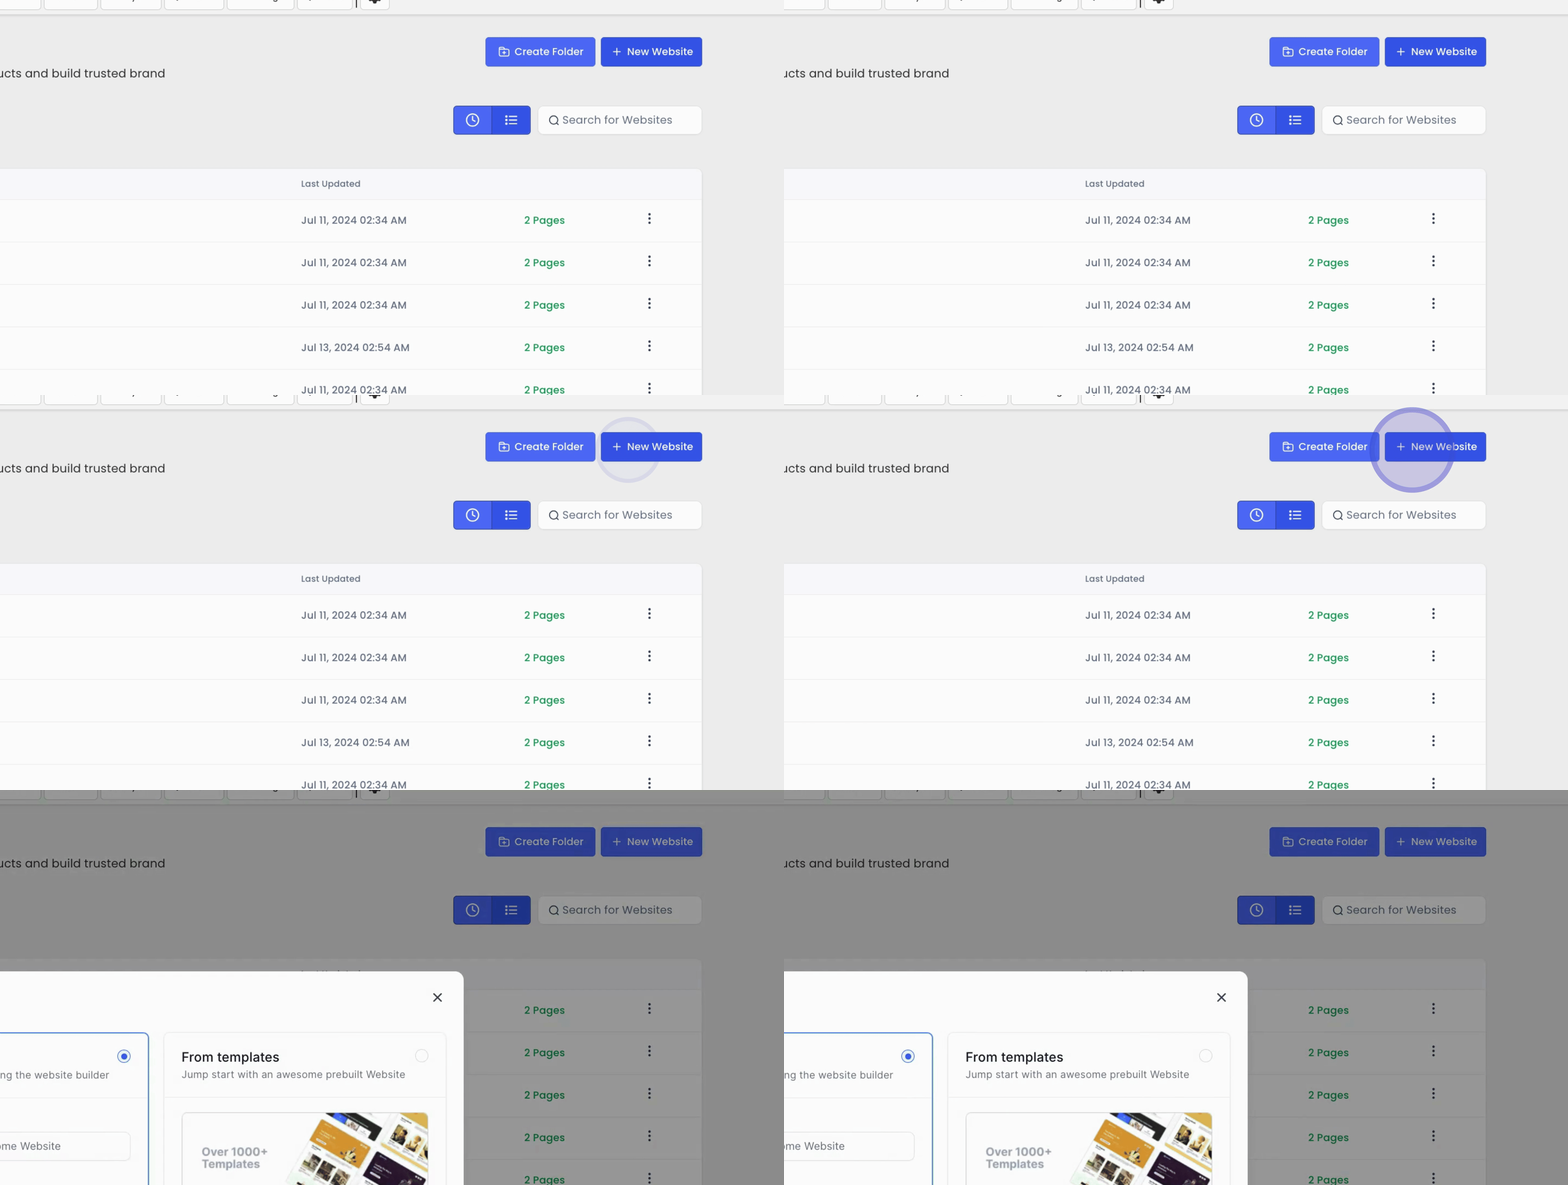
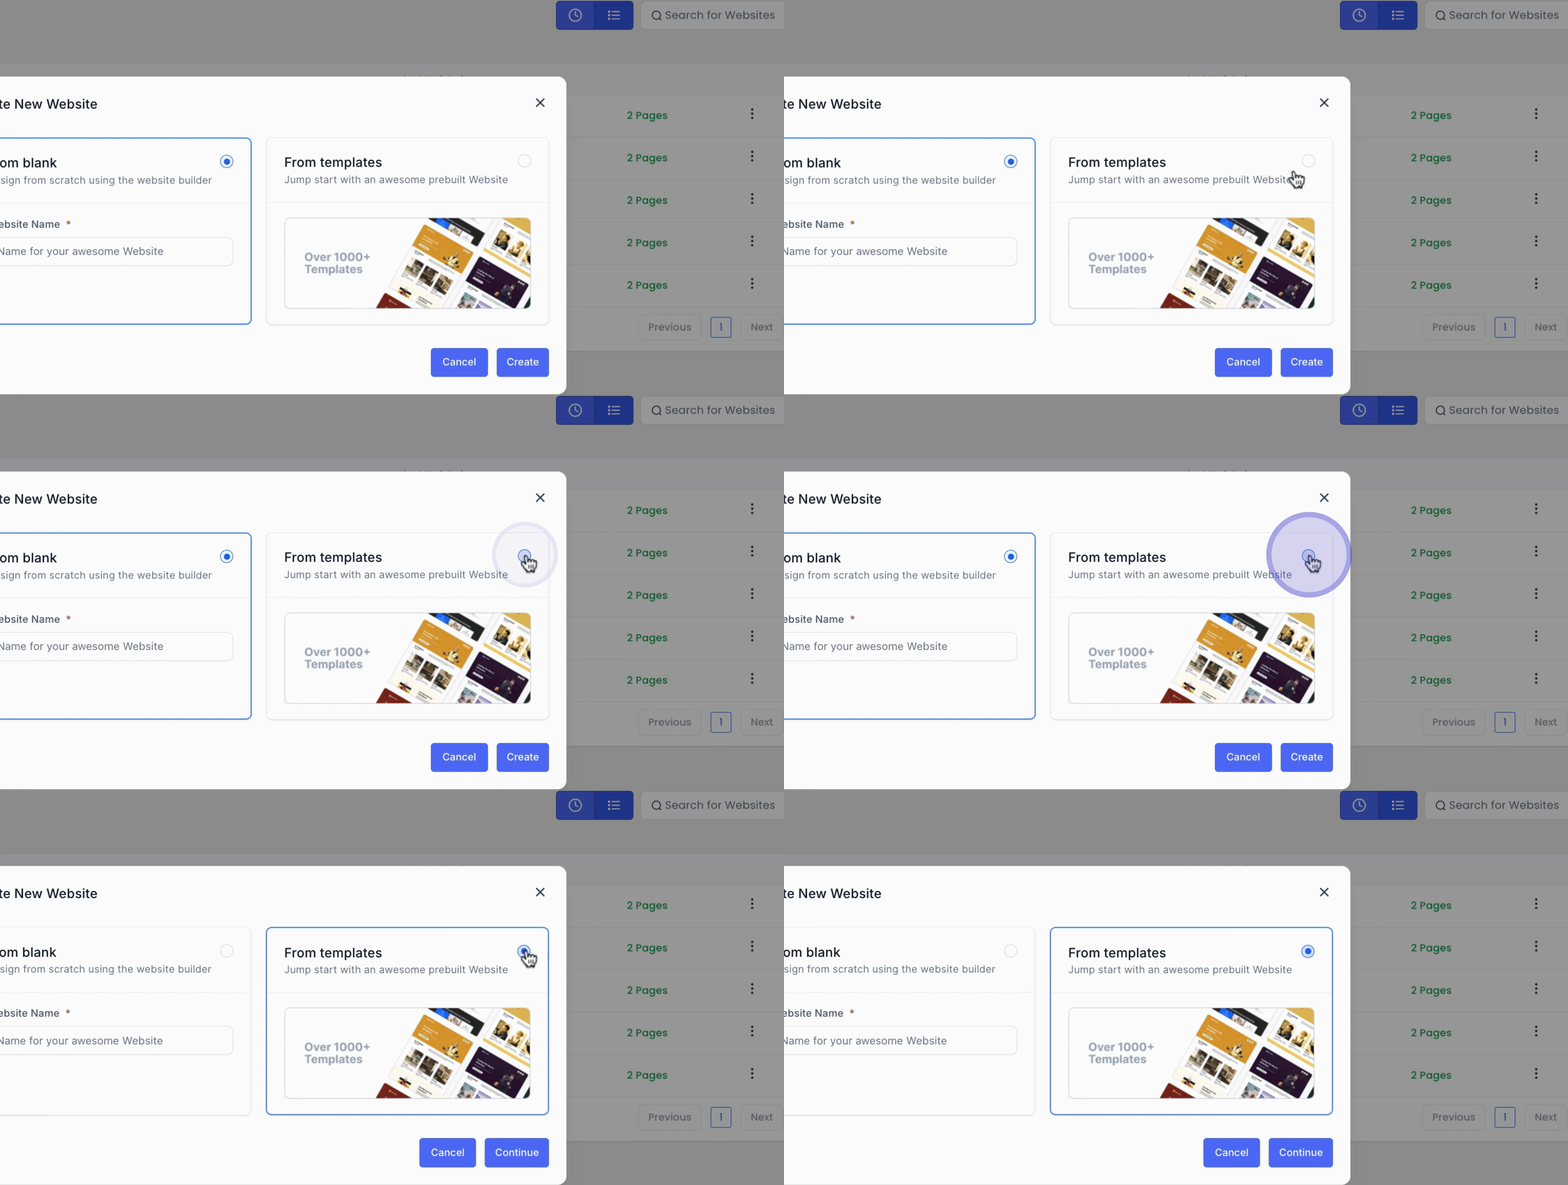
You can choose to either start from a blank template or select a template from our extensive template library. We have over a thousand templates available, so select the option to click from templates and then hit Continue.
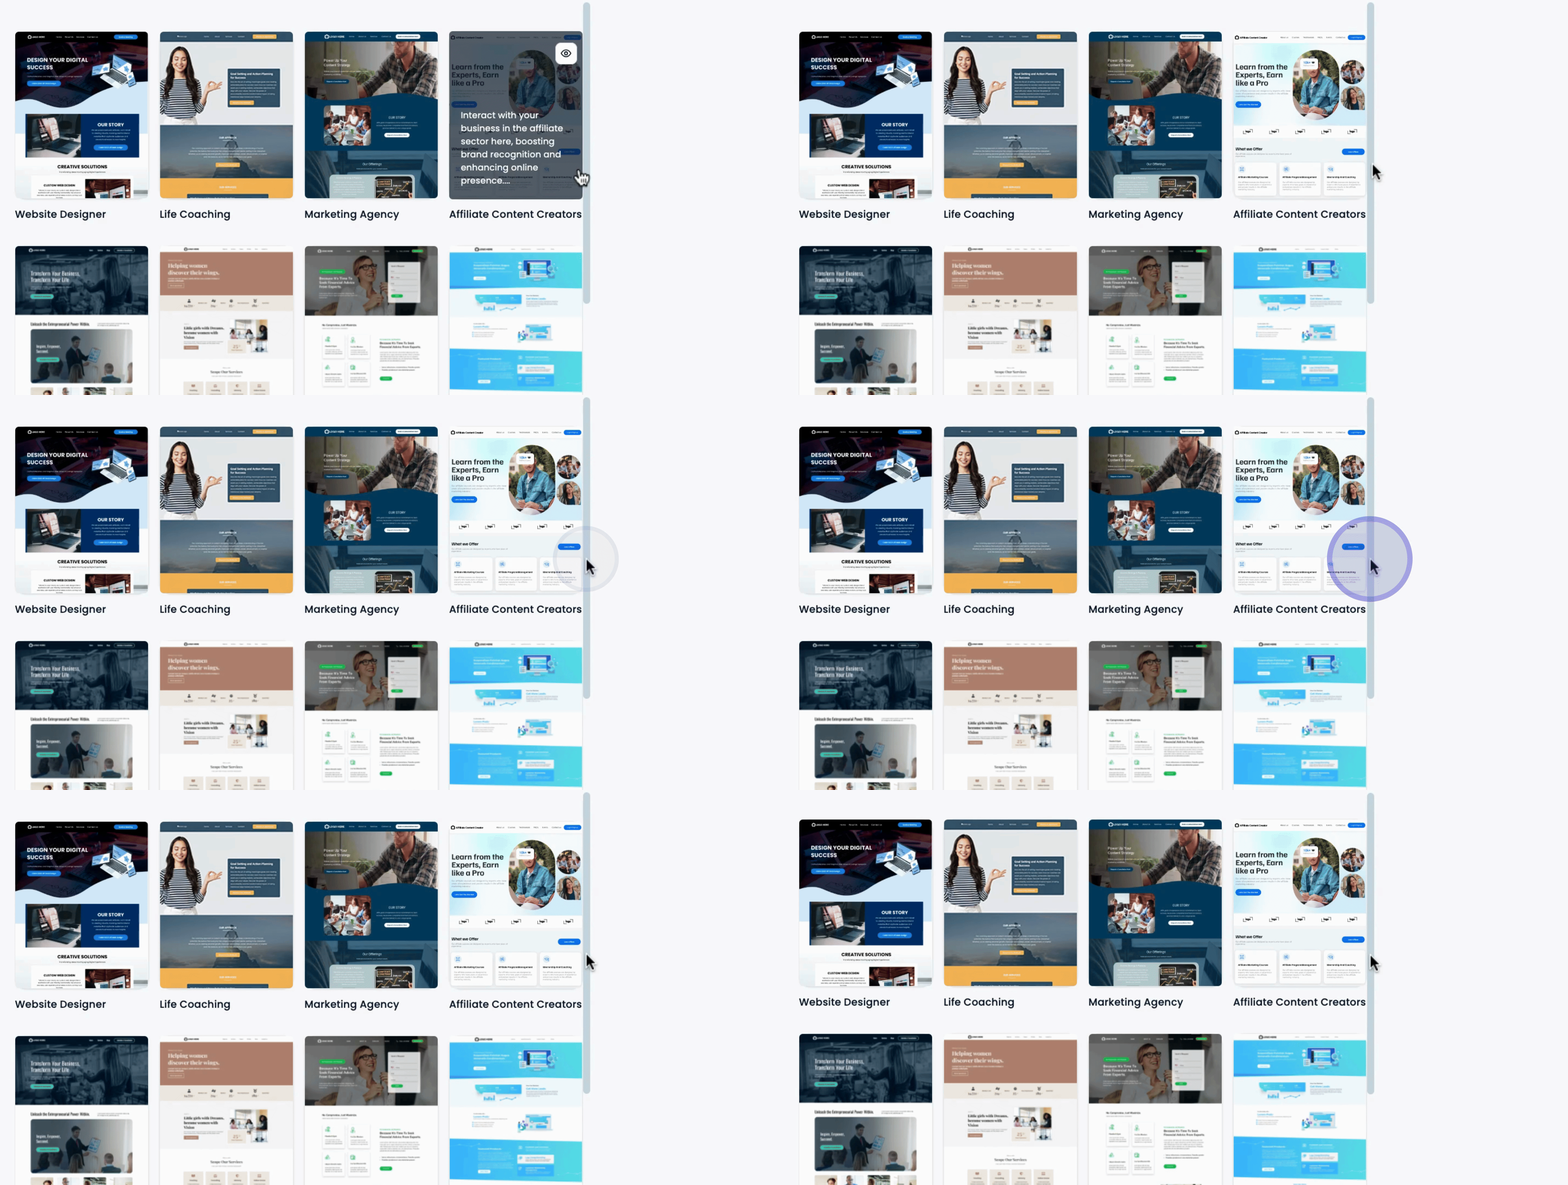
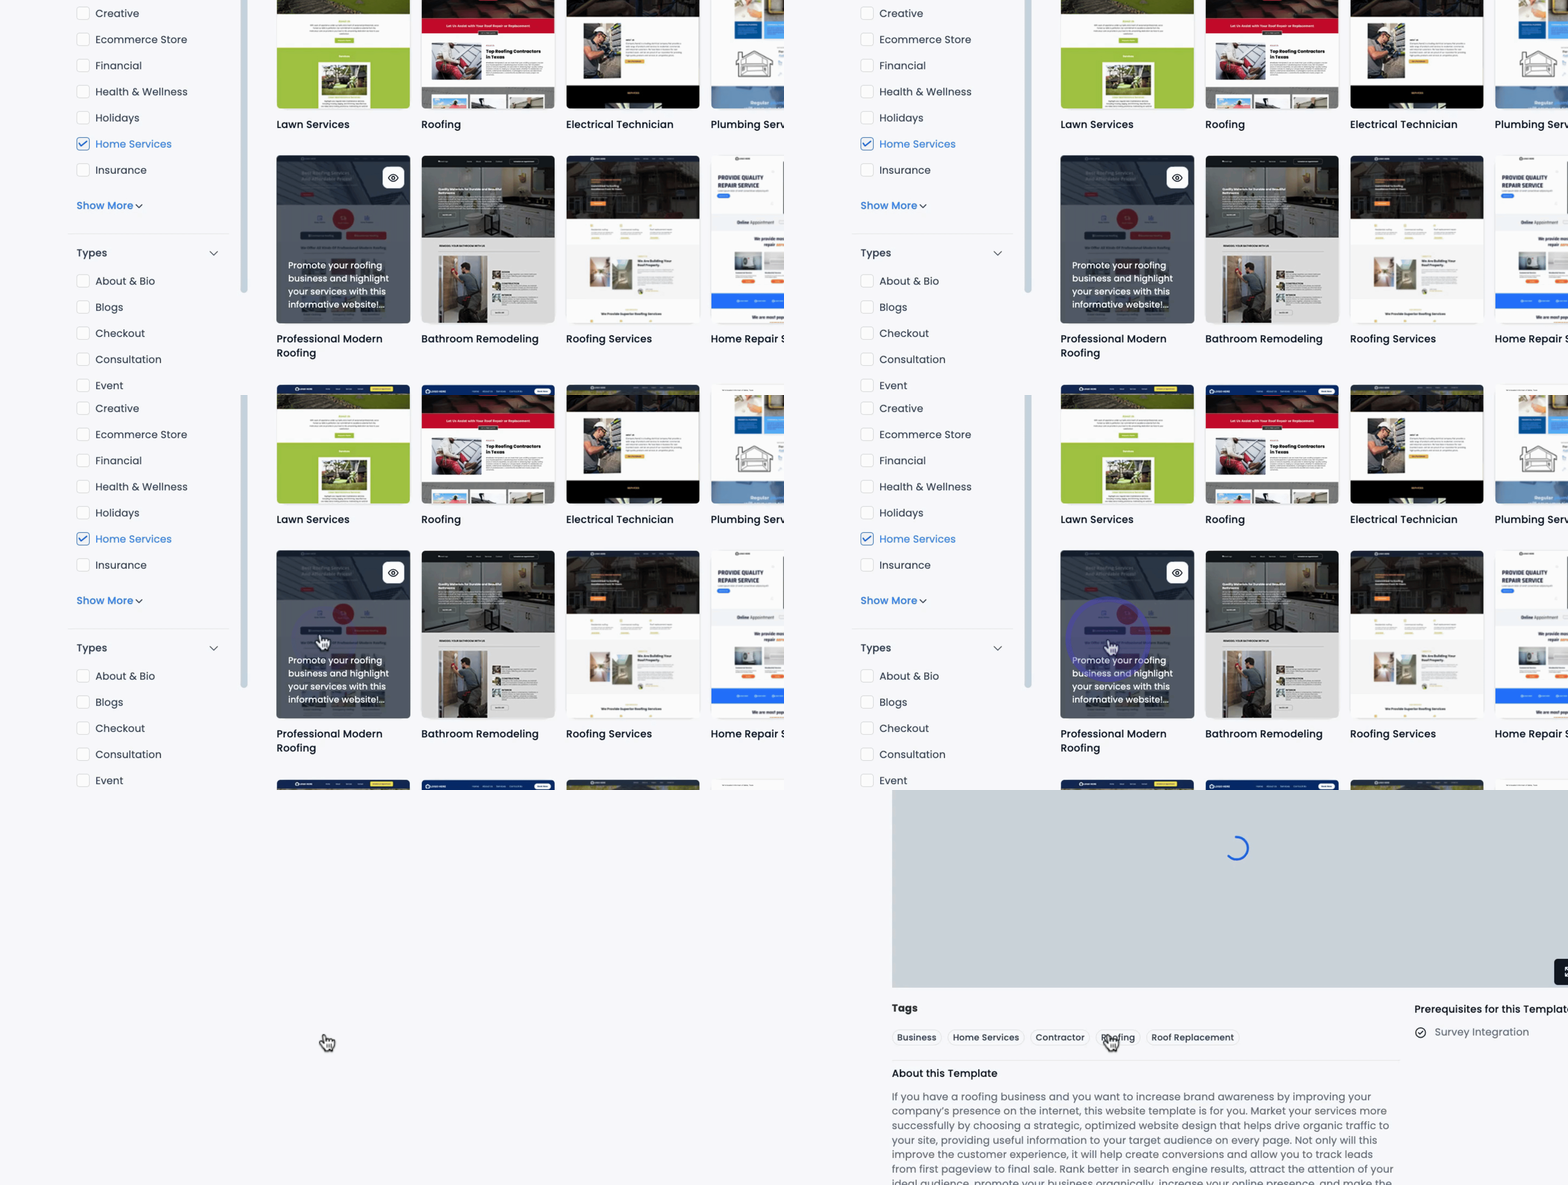
Next, browse through the categories to find a template that suits your industry.
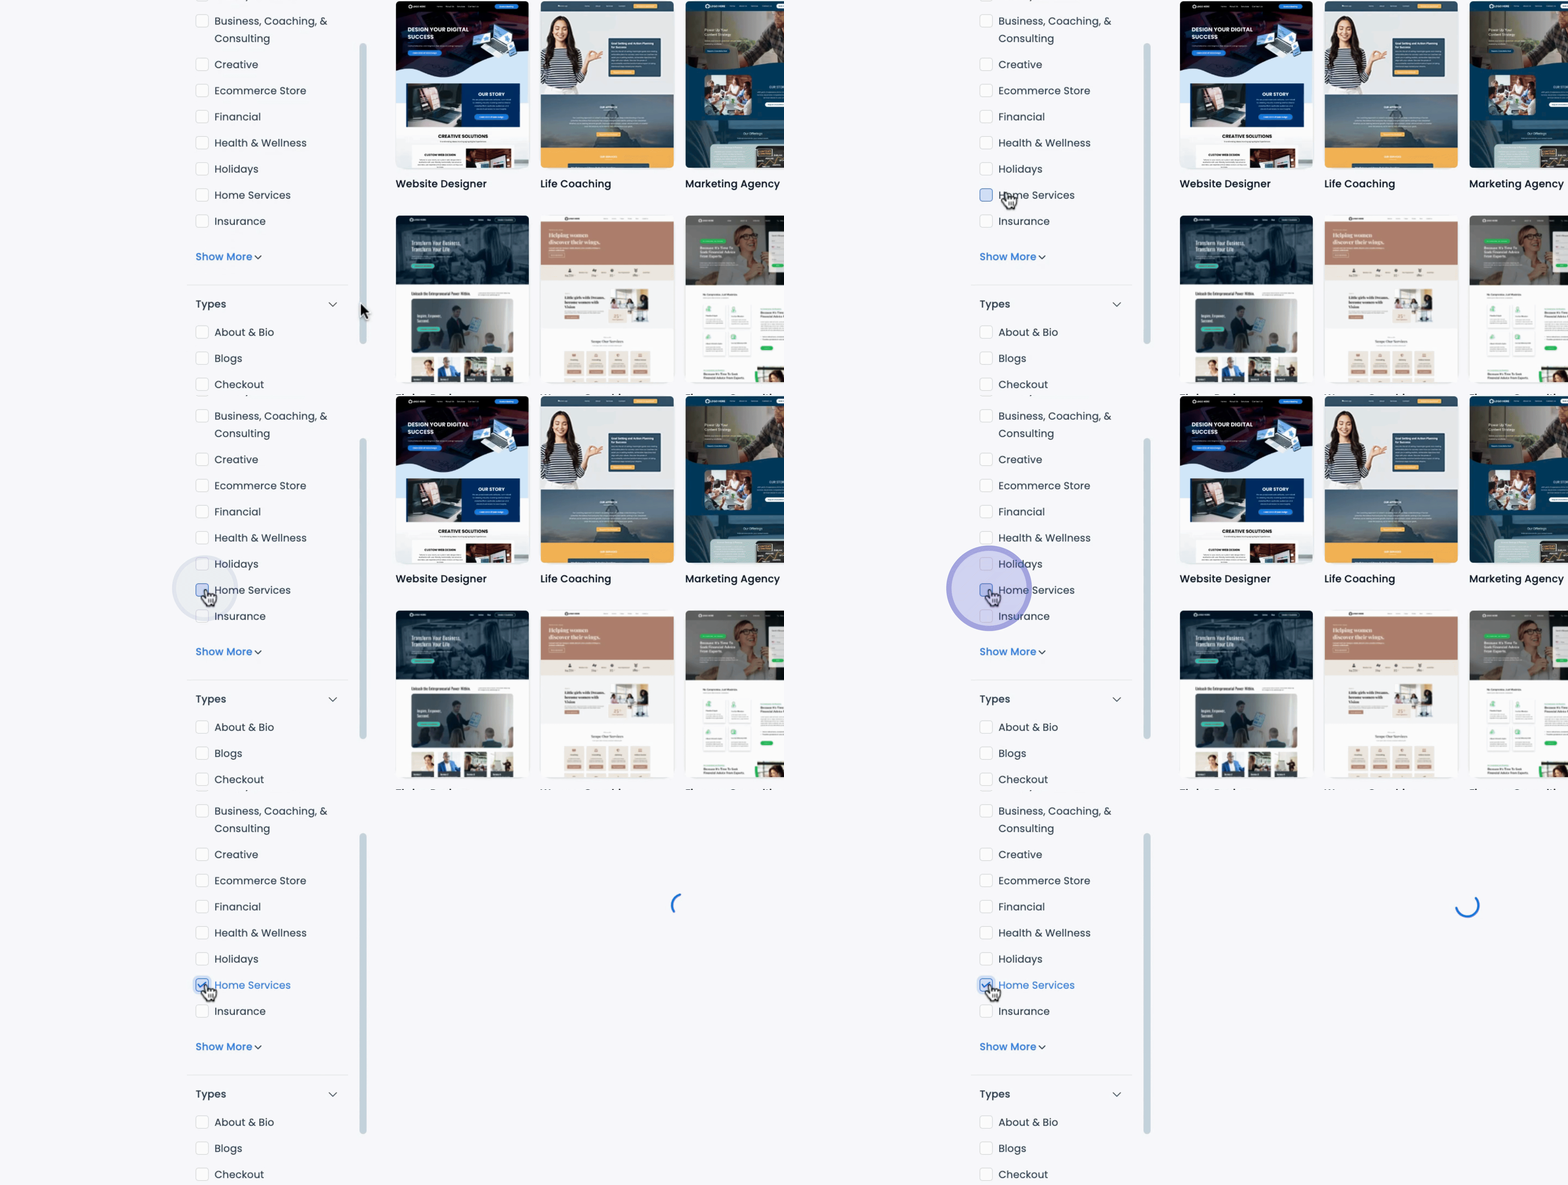
You will see various categories available to help in your search.
For this demo, let's look for a template in the Home Services category.
We will select a template for a Roofing Company.
After selecting the roofing company template, click on it to see the details.
Once satisfied with the selections, proceed by clicking Continue.
Your chosen template will load, displaying a visual editor that operates in a block format.
To edit any element within your template, simply click on it. You will be able to modify options such as the navigation by coming over to the side panel.
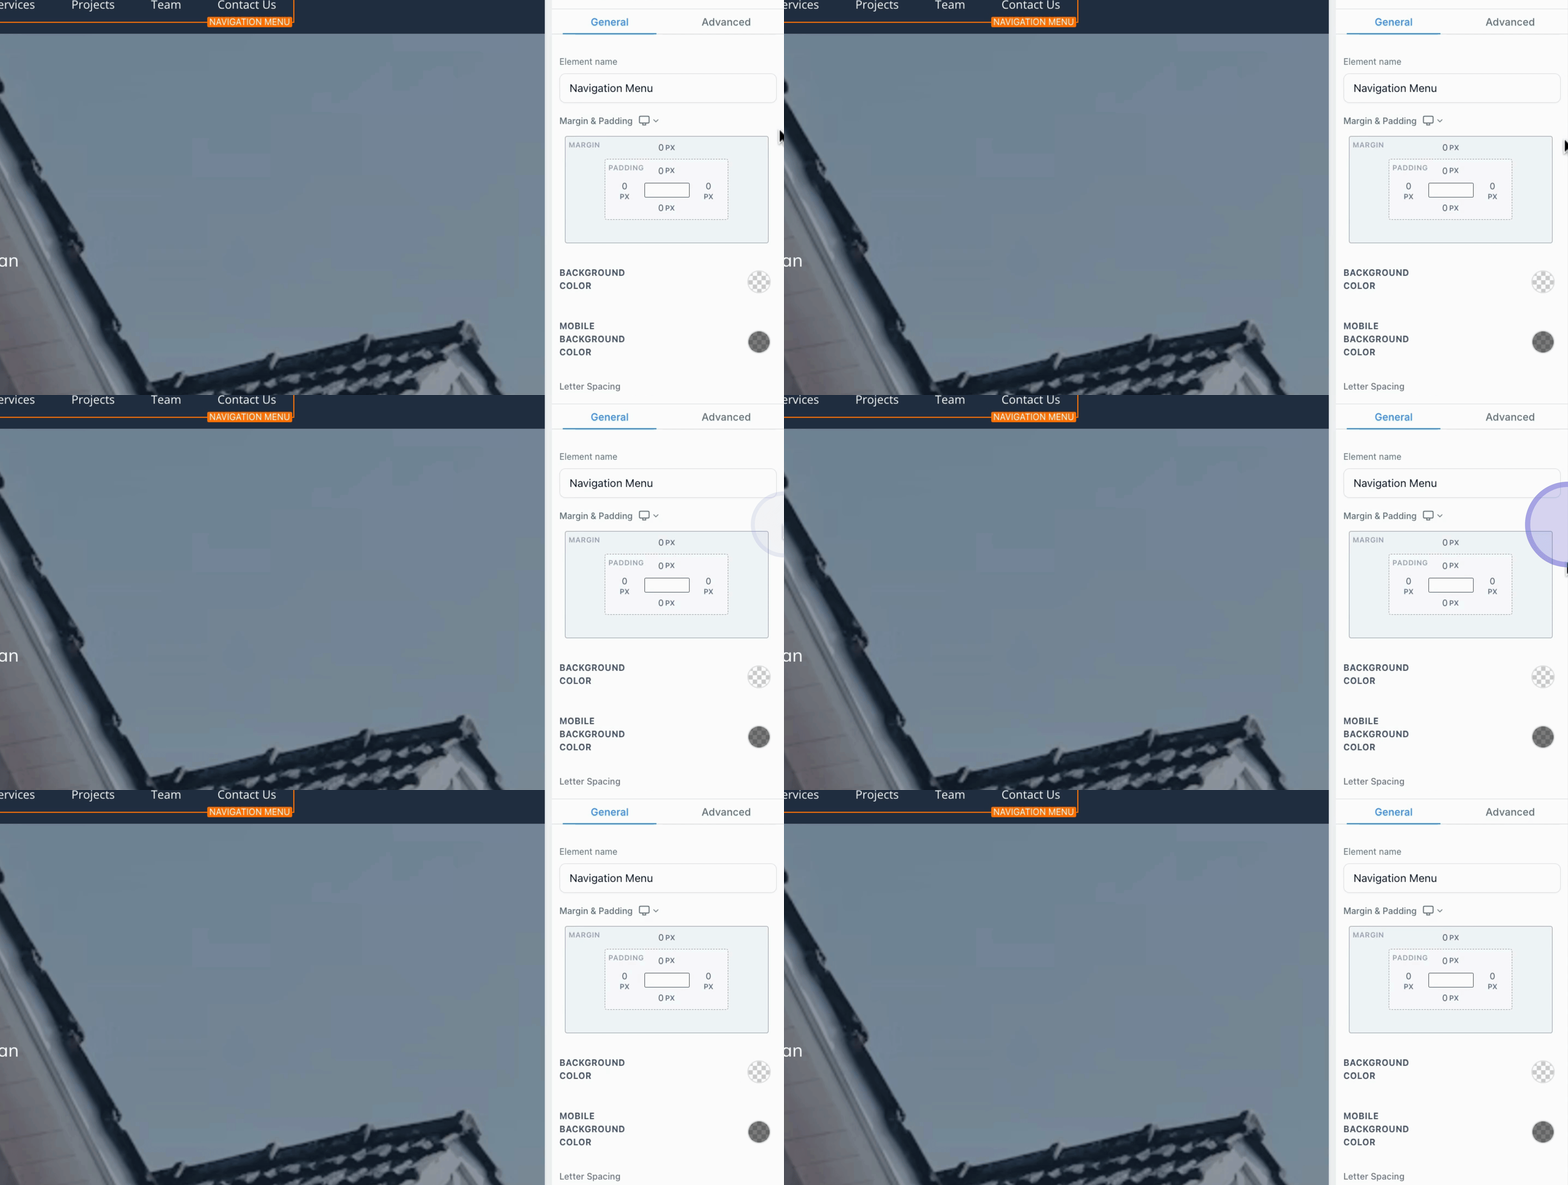
You can change the navigation items, like services, and link them to specific URLs or pages, such as a thank you page.
To modify header details, click on the header element and edit the text.
Every time you make modifications, don’t forget to click the Save button followed by Publish.
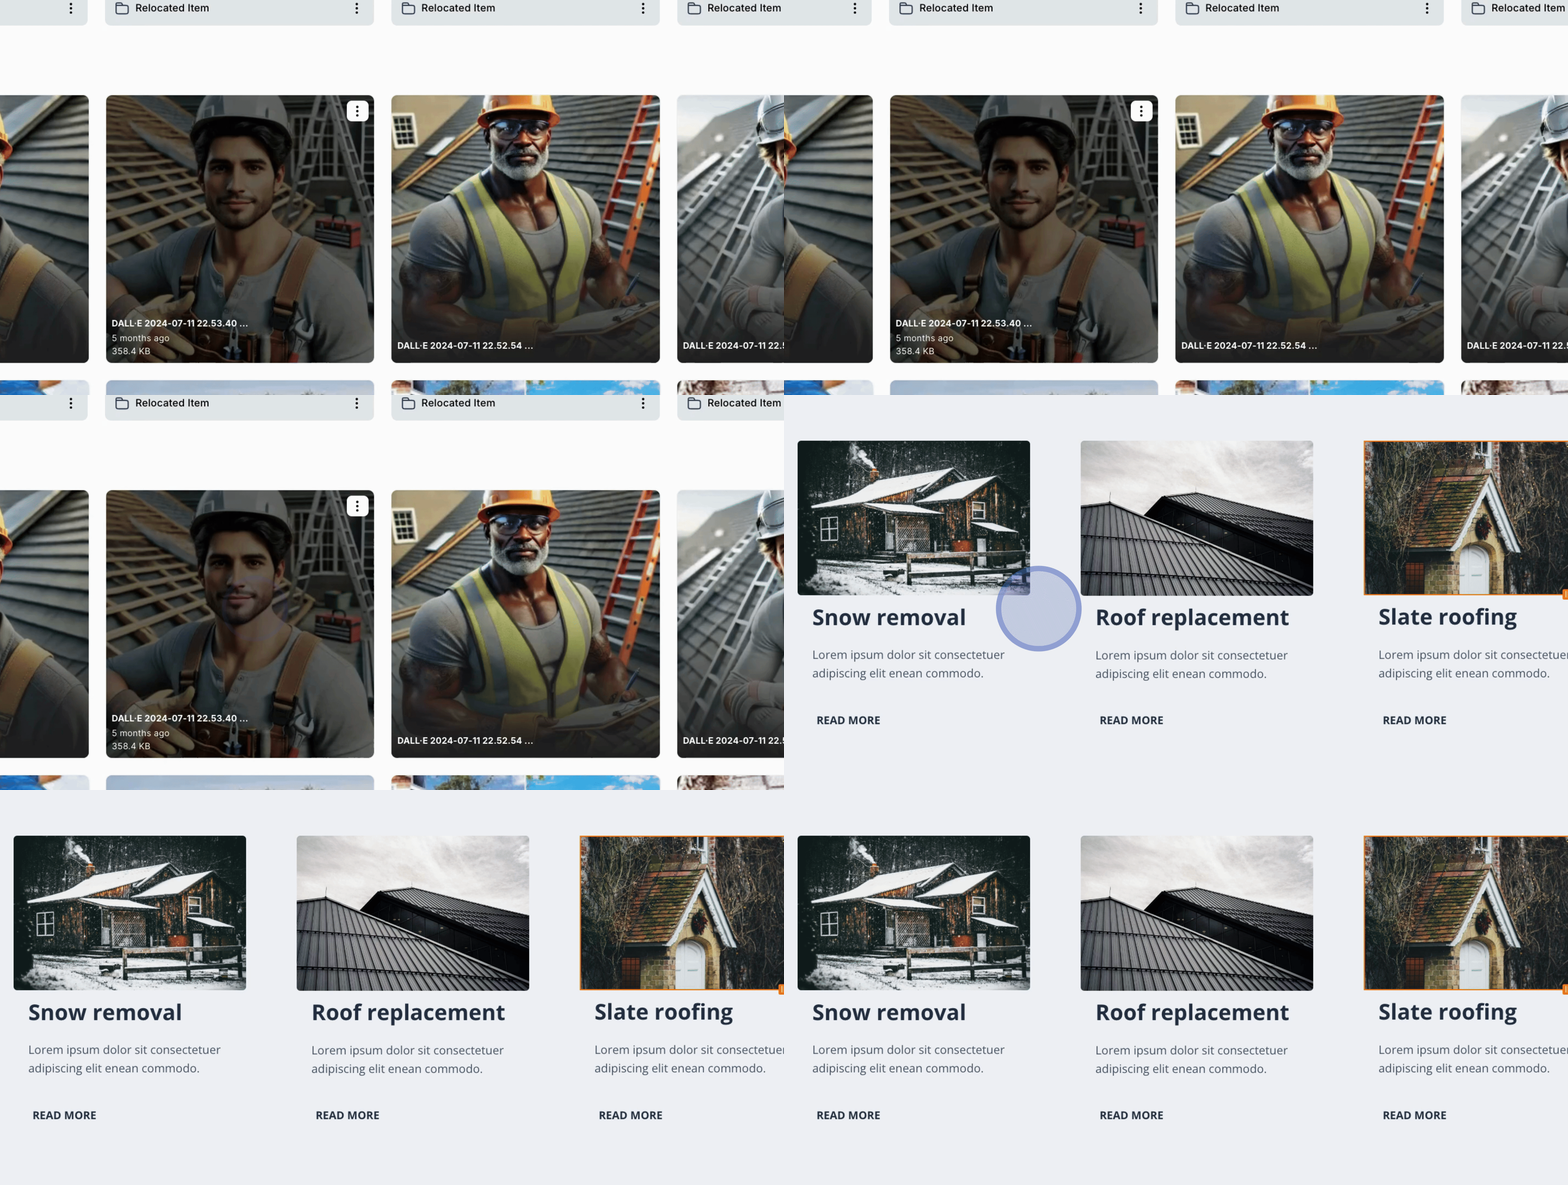
If you wish to change any images, select the image element and upload the new image.
Once updated, ensure to save your changes.
If required, you can also update your SEO settings to optimize your website's visibility.
This demonstrates how simple and easy it is to create a website using our templates.
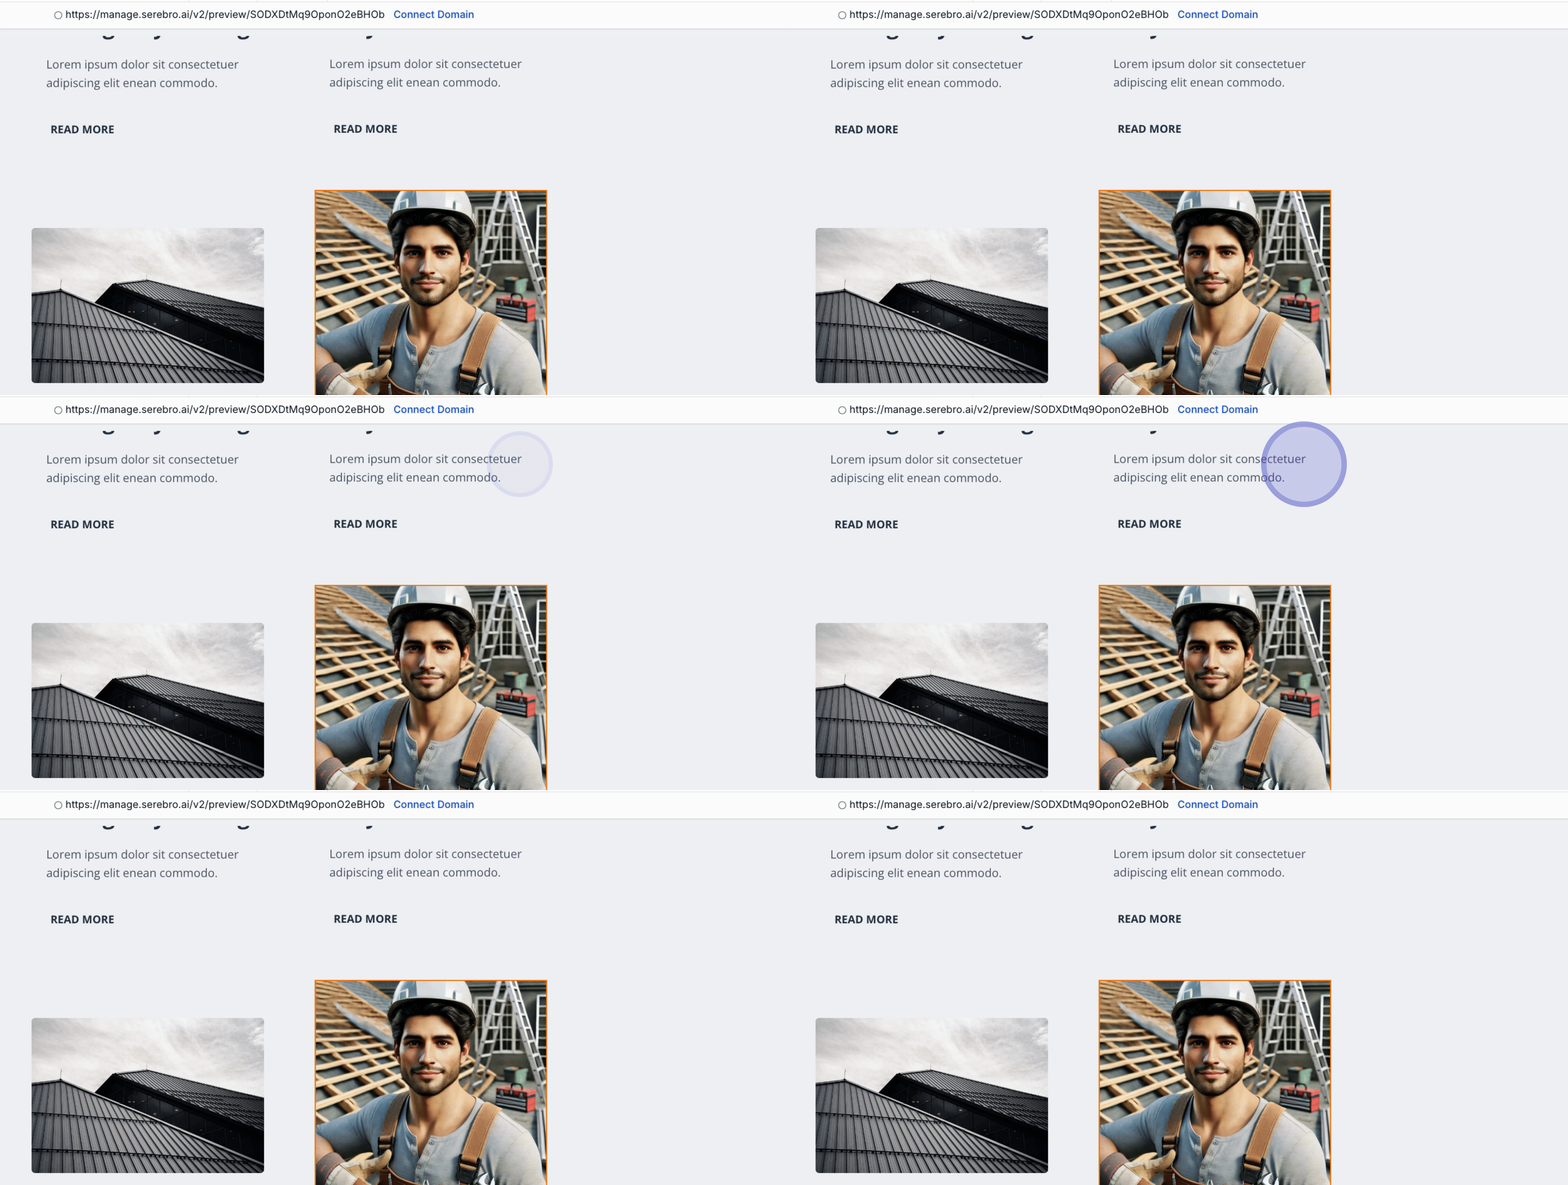
Now you are equipped with the knowledge to create your own website using our templates. Take your time to explore the options available and start building your online presence.
