Navigating the Serebro AI Dashboard
This tutorial will guide you through the various tabs and functionalities of the Cerebro Dashboard.
Updated 4 months ago
This tutorial will guide you through the various tabs and functionalities of the Cerebro Dashboard.
First, you will find yourself on the dashboard, which lists various elements such as opportunities, funnels, stage distribution, tasks, manual actions, lead source reports, and Google Analytics reports. This is the central hub for monitoring your business activities.
The next section is the Conversations tab. This is the centralized hub where all communication with clients occurs. You are able to send emails, SMS, and WhatsApp messages, all from one interface. Additionally, you have the ability to attach notes, documentation, and tasks, as well as book appointments and process payments.
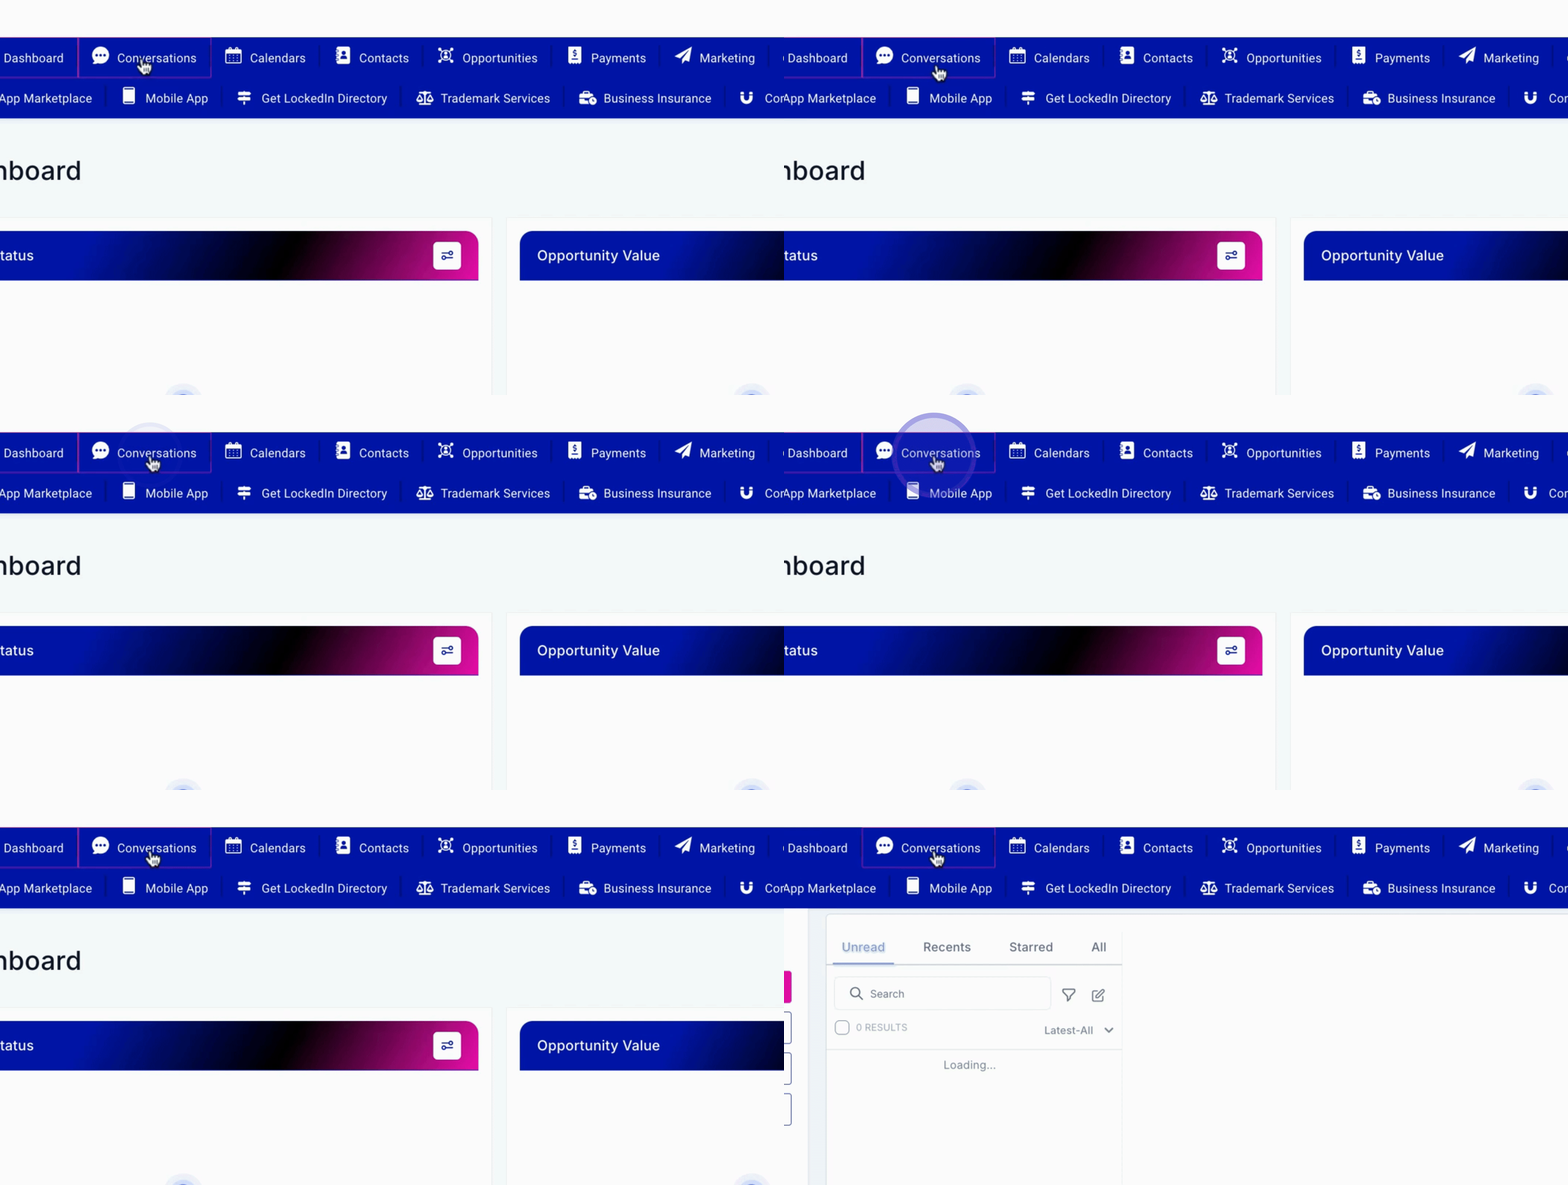
Next is the Calendars tab, which is essential for managing appointments. Here, you will see your appointments in real time. Note that if you are in a demo account, you may not see any appointments listed. You will be able to click on your appointments to view cancelled and upcoming meetings.
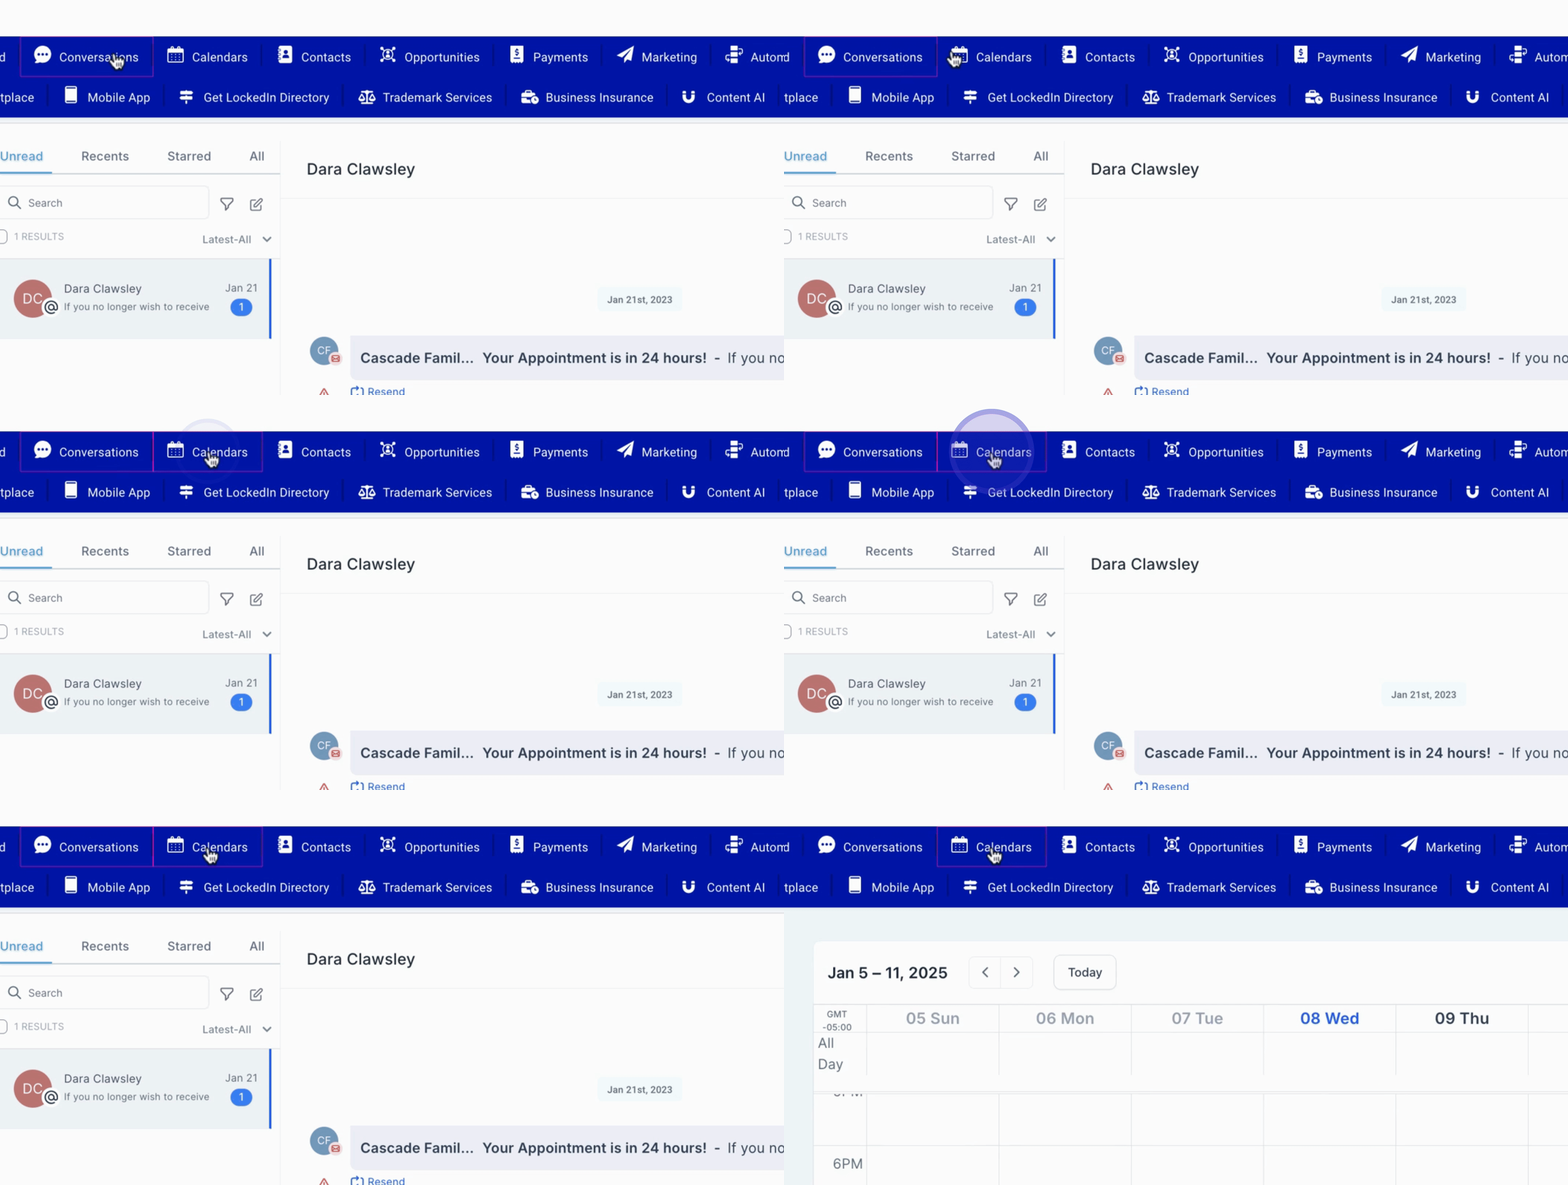
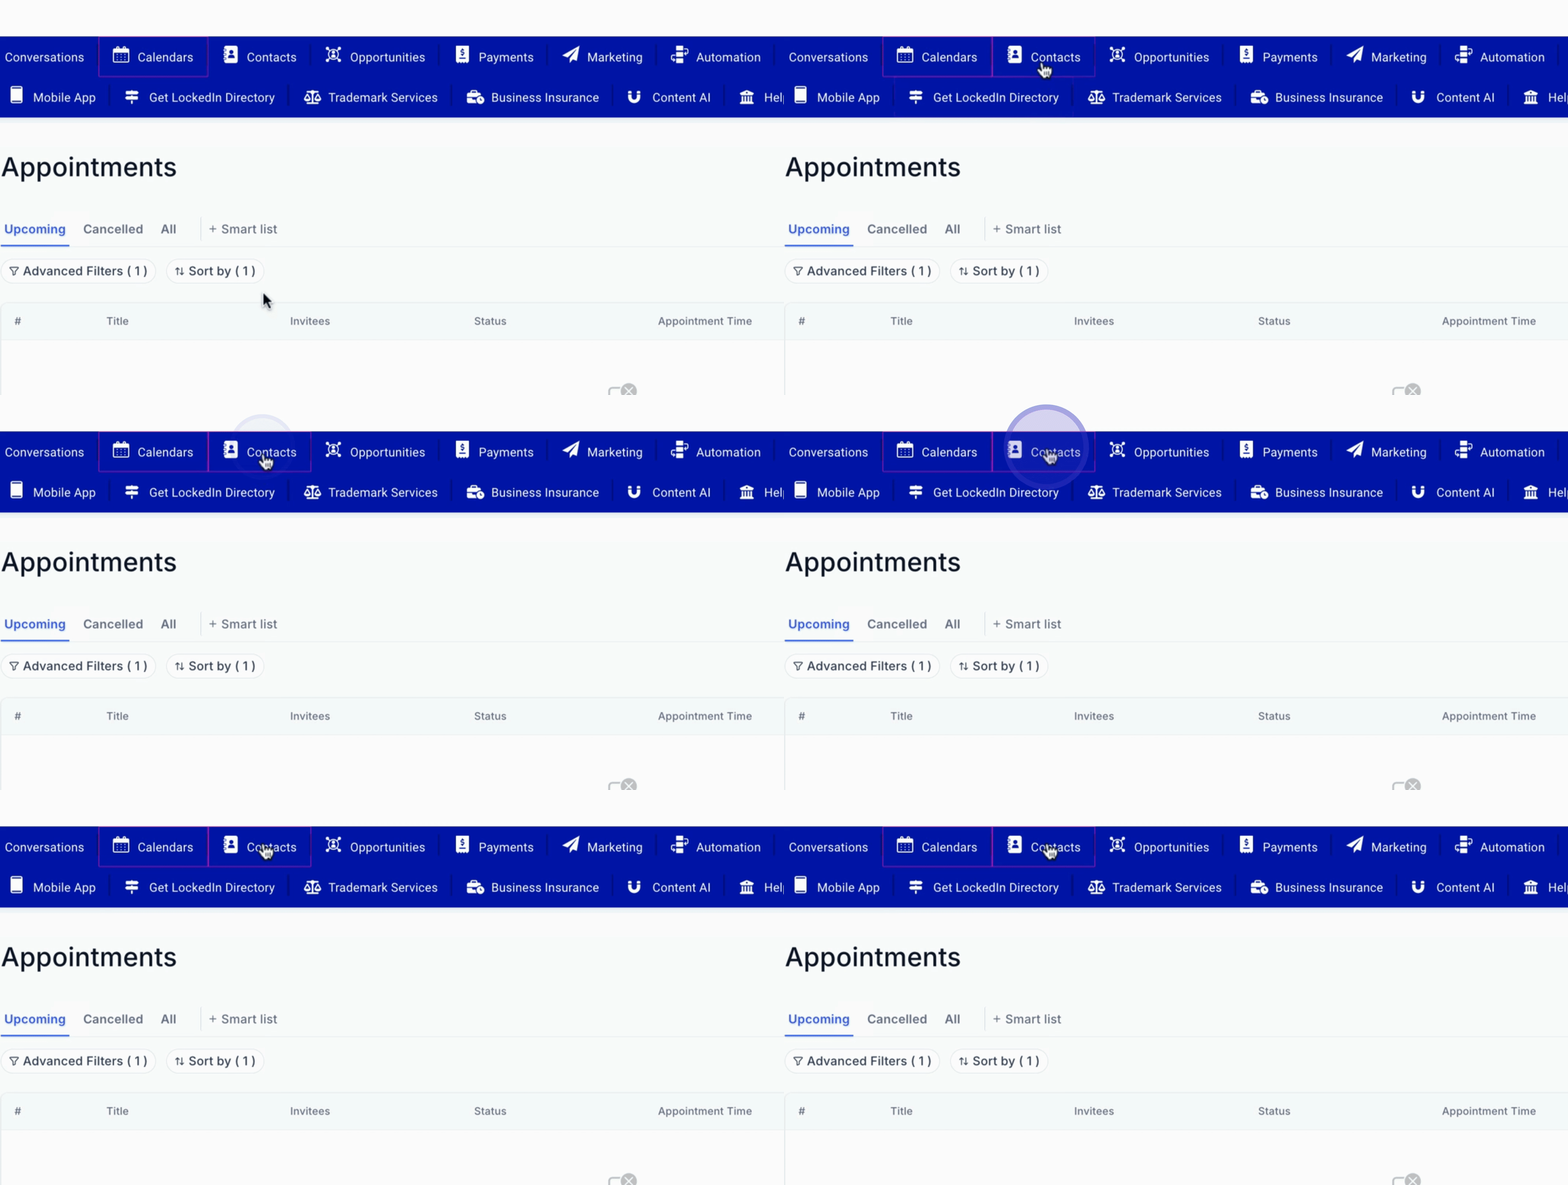
Following the Calendars tab is the Contacts tab, where all your contacts are stored. You can click on any contact to explore deeper into your CRM. This allows you to view all activities, tasks, notes, documents, and payments associated with each contact. You can also add a card on file, charge now, create subscriptions, and invoices under this tab.
Moving on to the Opportunities tab, this is where you can manage your sales pipelines. Whether you are working in a dental context or another field, you will find categories such as new leads, hot leads, booking requests, bookings confirmed, and services. You also have the option to create different pipelines according to your needs.
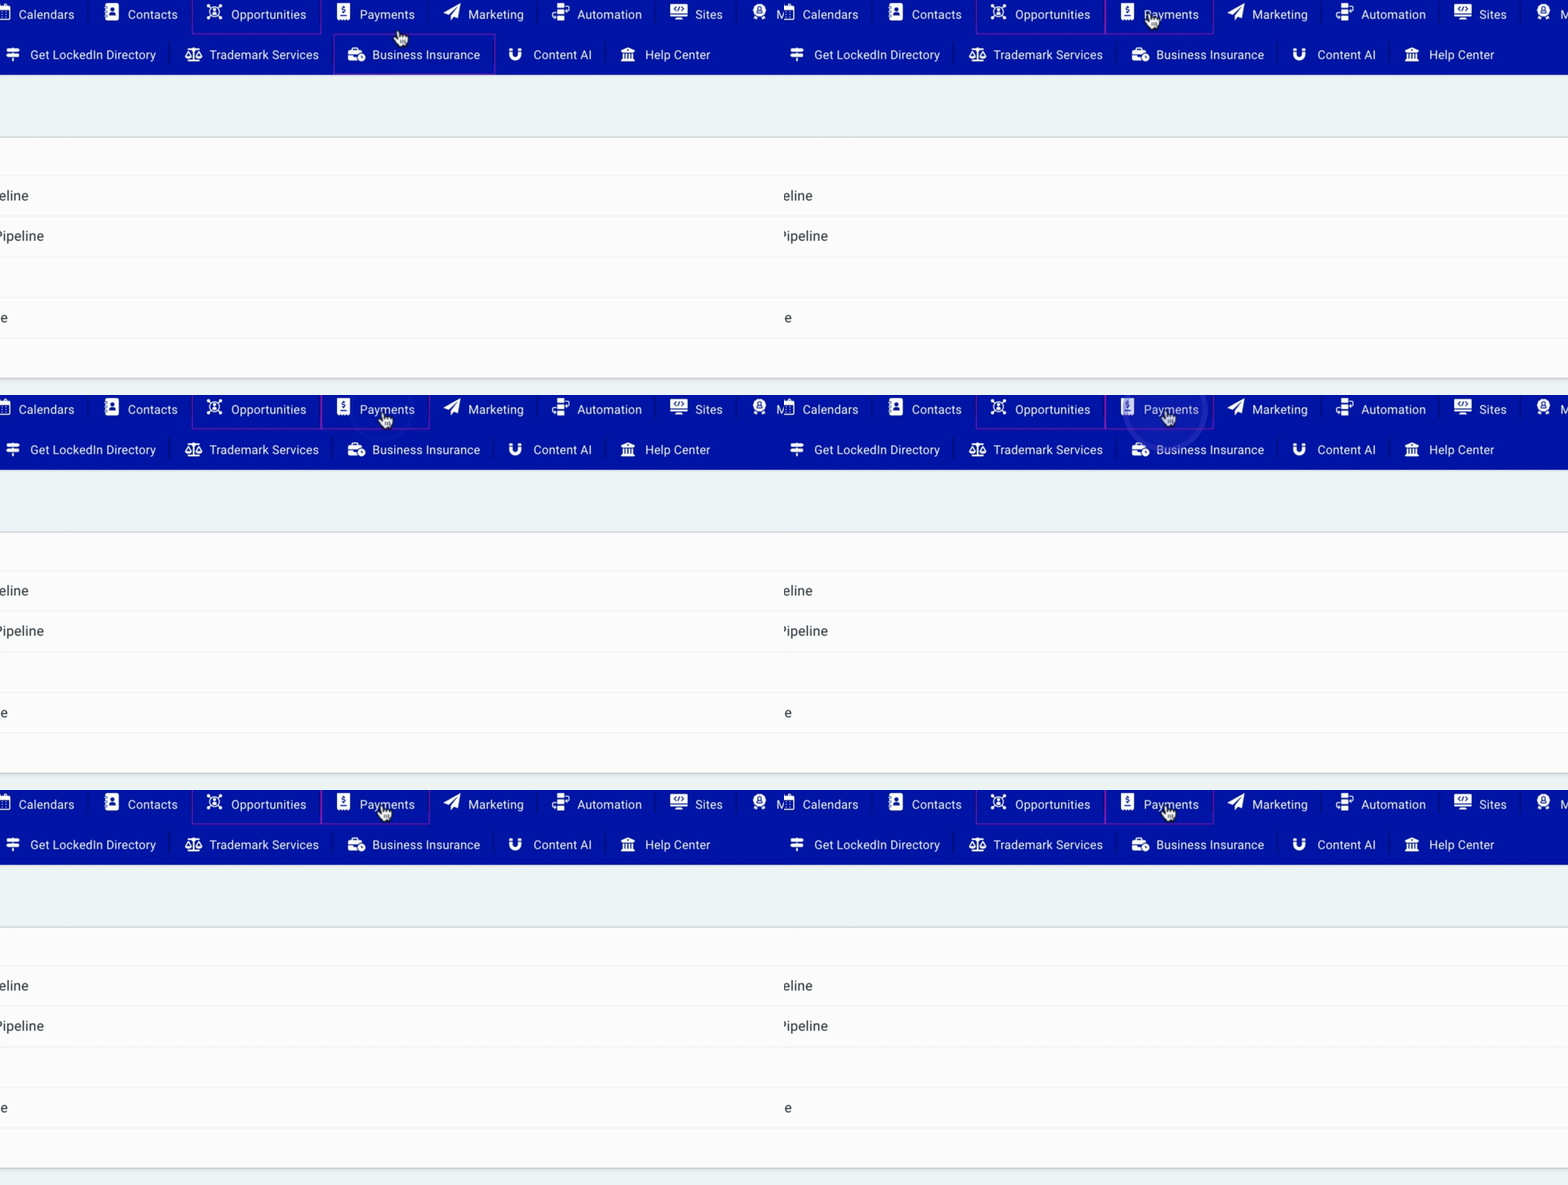
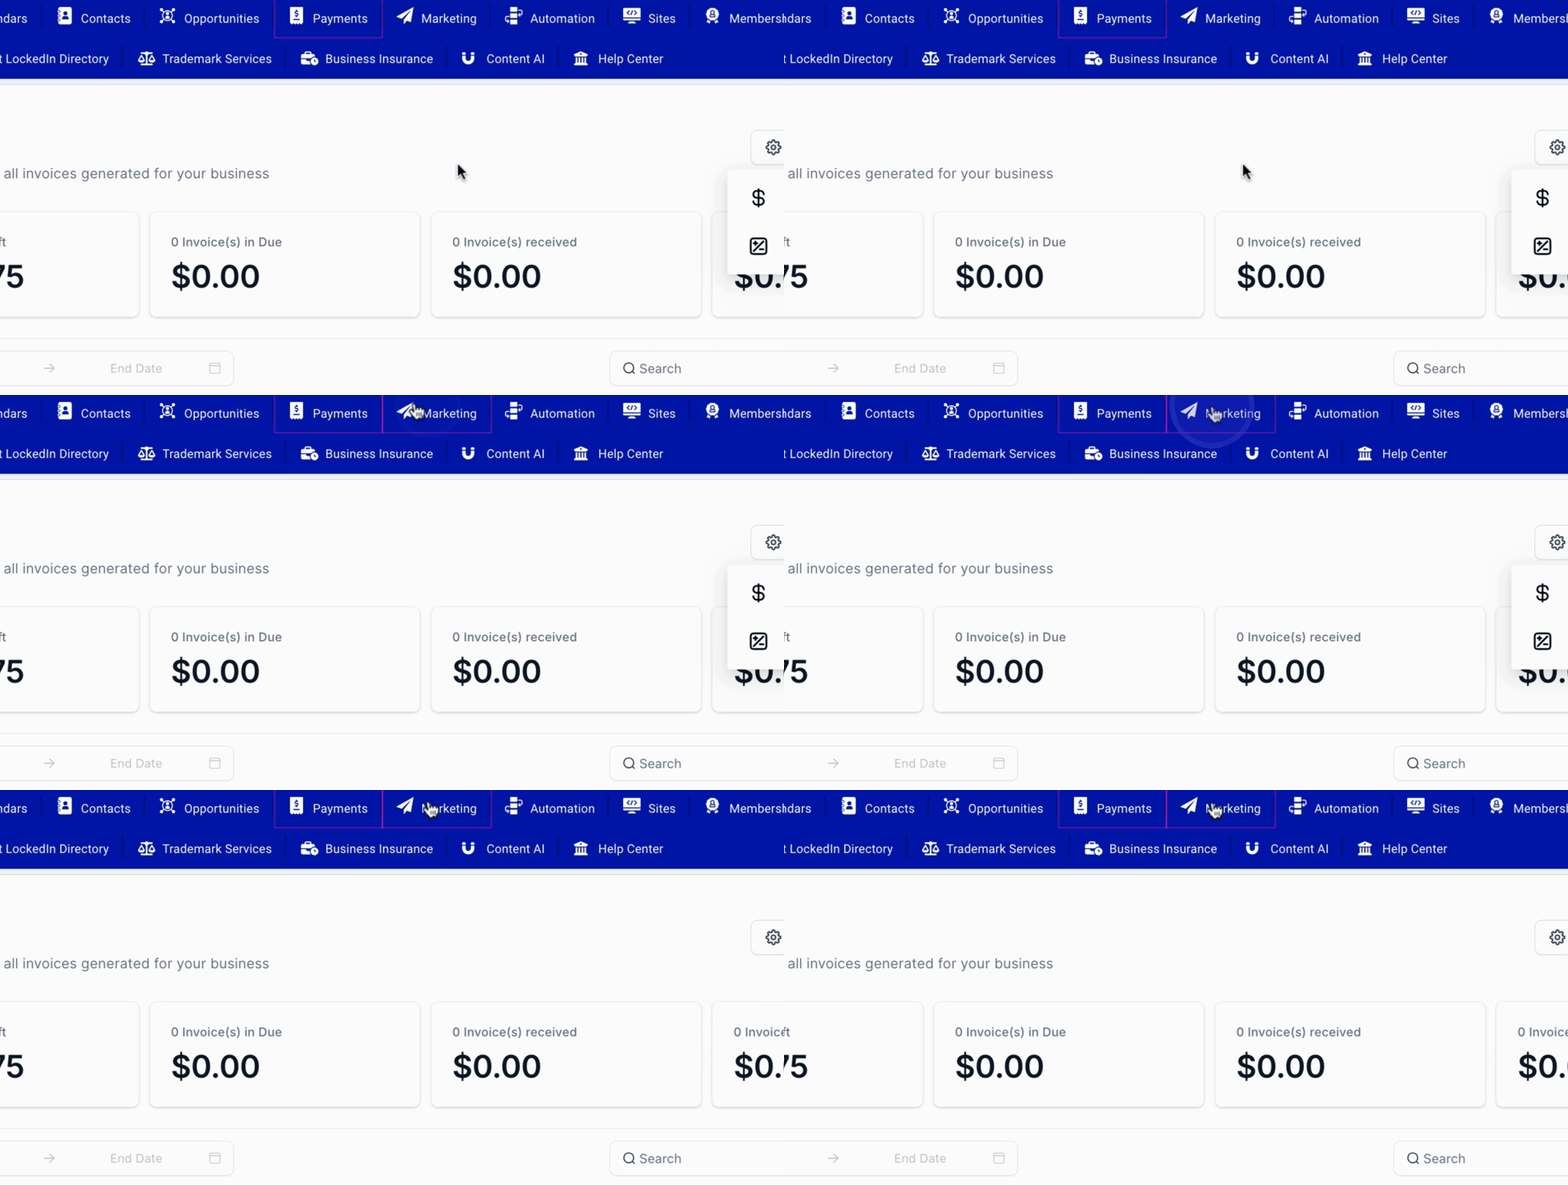
The next section is the Payments tab. Here, you can review all your invoices and estimates. This includes viewing recurring invoices, templates, orders, subscriptions, payment links, transactions, products, collections, inventories, reviews, coupons, settings, and integrations. To create a new invoice, simply click on New Invoice, which will start the invoice creation process.
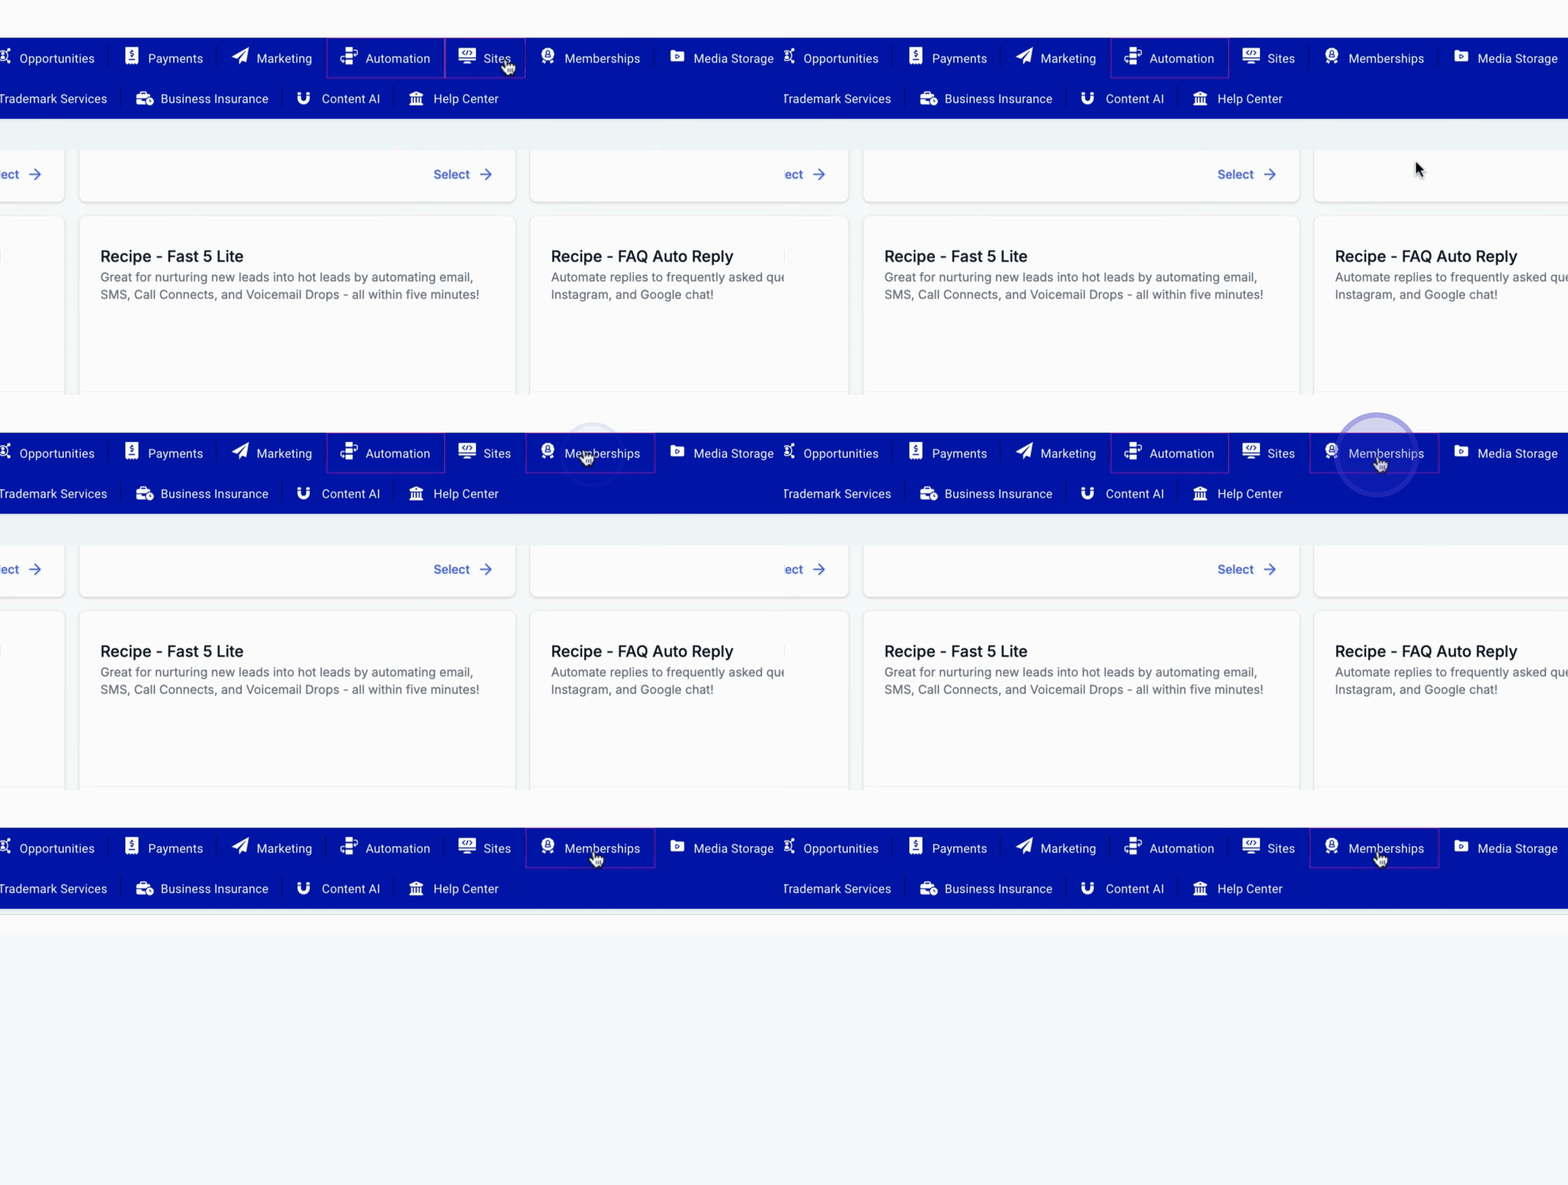
Next, the Marketing tab is where all marketing activities take place. You can connect all your social media accounts in one place and manage automation through what we refer to as recipes. You have the option to create new workflows, either from scratch or using one of the pre-designed workflows available.
The Memberships tab allows you to create and manage memberships or communities. Here, you can create products, offers, and courses tailored to your audience.
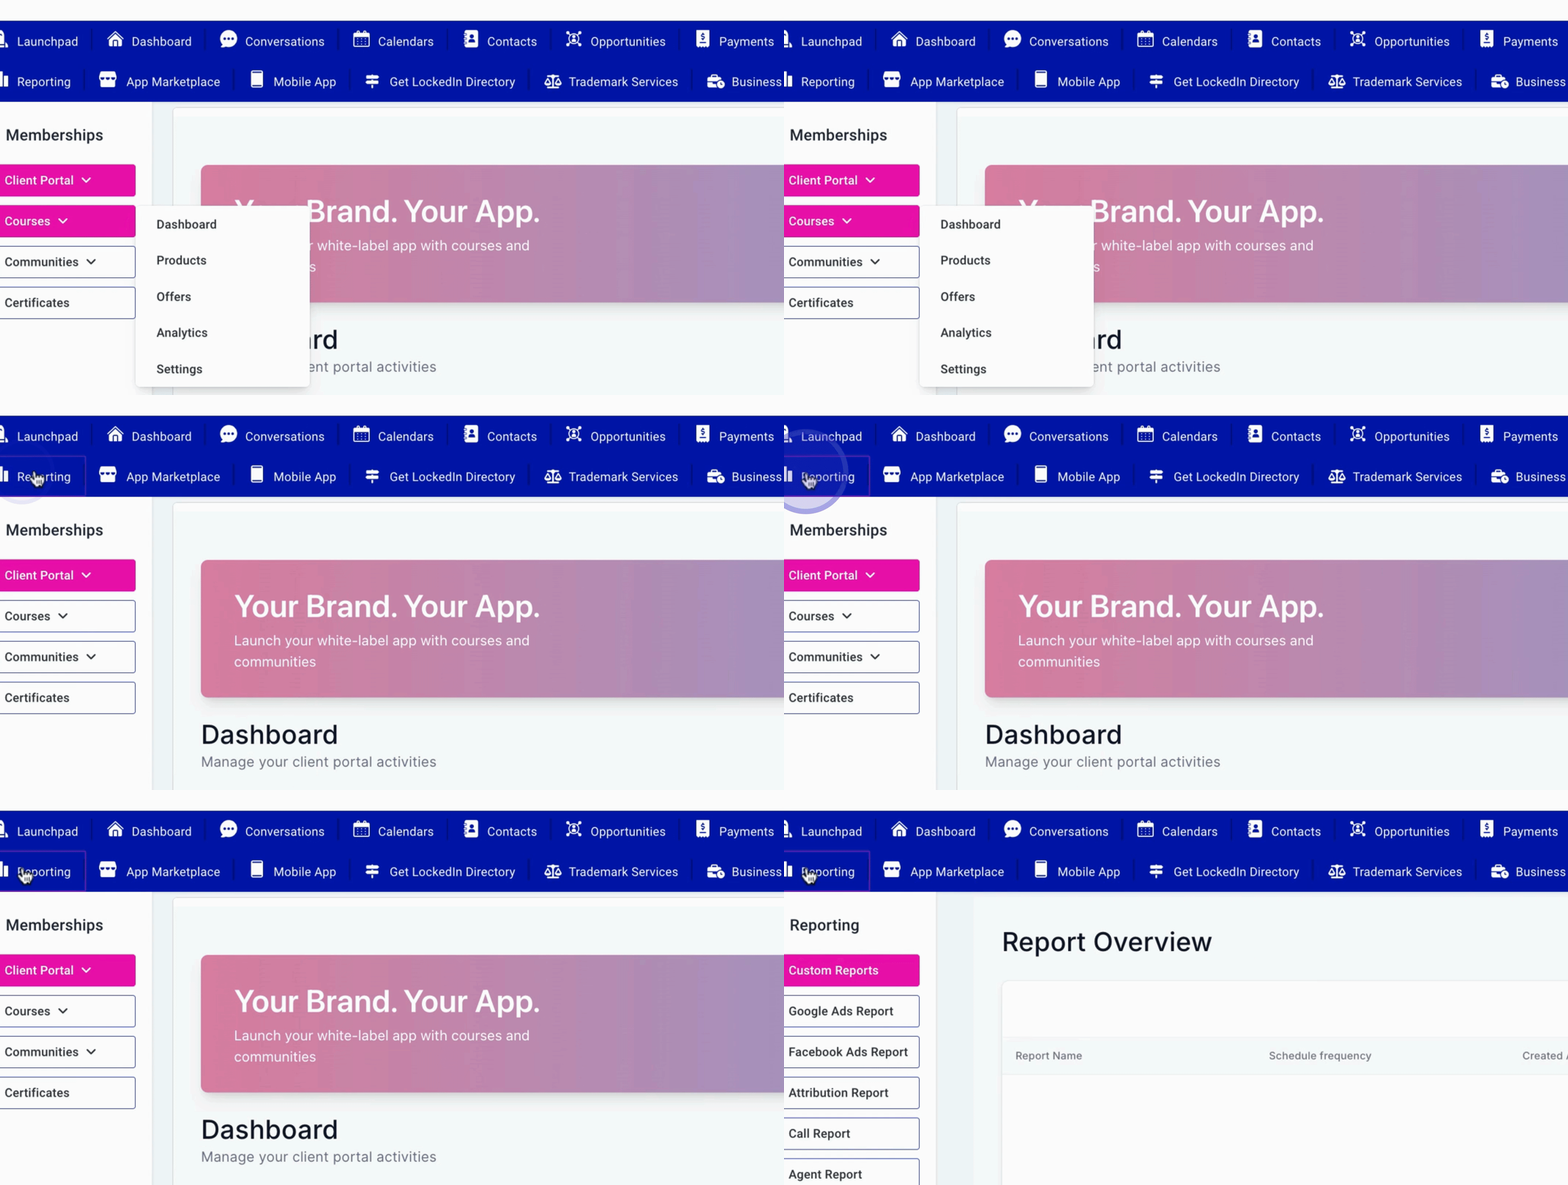
Lastly, the Reporting tab provides access to all your reports. If you are running Google Ads or Facebook ads, you can view sample information as well as your own advertising performance data, including impressions, clicks, and conversions.
This concludes the navigation overview of the Cerebro Dashboard, enabling you to effectively utilize its various features for your business operations.
